Showing posts with label length shots. Show all posts

Sunday, 19 July 2026

Cosplay styles - Elrond braided half-up and length shots


  Long time, no cosplay hair post! So here's another Elven style, a couple of multi-braided half-up styles for my Elrond cosplay, from an Autumn 2022 nature shoot. The main style I went for is a couple of thin three-strand side braids in front of the ears alongside a fishtail/herringbone half-up braid at the back (well, a fishtail braid that evolved into a regular three-strand braid, because fishtail braiding at the back of your head is not for the weak-minded and is a real workout 😅 xD). 

  This style takes elements out of several Elrond hairstyles from the Peter Jackson movies: LotR Elrond tends to wear a fishtail half-up braid at the back with intricately looped sections in front of the ears, and sometimes, more intricate criss-crossing basket weaving braiding at the top of the head as well (see photo below, left).  In the Battle of Dagorlad (during the Fellowship of the Ring prologue, see photo below, middle) his style combines the fishtail braid at the back with two side fishtail braids looped into and around the main herringbone braid. Elrond's main style in the Rivendell scenes of The Hobbit: An Unexpected Journey (see photo below, right) features a couple of three-strand braids in front of the ears instead of his signature looped look in LotR, and he switches the more elaborate fishtail and basket weaving braiding for what looks like a couple of side rope braids tied at the back alongside another minibraid at the top of the head. 

LotR Rivendell Elrond (FotR, Council costume) (left); LotR Battle of Dagorlad Elrond (centre); The Hobbit: An Unexpected Journey Elrond (right) 
 

  My version combines the fishtail braid at the back from most of the LotR styles with the three-strand braids in front of the ears from The Hobbit, which I tried to loop a bit at the ends as a callback to his signature LotR look (but three-strands overall were easier to do and more comfortable to wear). I actually could also replicate a near version of his Dagorlad style with this look (see below), by looping the front mini braids into and around the main braid at the back (the only difference being, in the Dagorlad style it's all fishtail braids, but lol nope, I tried that style with what I already had at the very end of the shoot xD).

  • For this style I used (and you can use):
-Sectioning comb, wide-tooth comb and/or brush, as needed
-Transparent small elastics for the accent braids and the braided half-up
-A circlet and a leaf slide/barrette for decoration
-Aloe vera gel/fixing gel, as needed 
  • Steps:  
1) Section the hair: one small section at each side above the ear for the accent side/front braids that will hang in front of the ears, and one section for the braided half-up at the back.
 
2) Fishtail+three-strand braid:
 
  To be honest, I've had very little practice doing fishtail/herringbone braids because they're pretty time-consuming and they involve considerable arm workout when you're doing them at the back of your head xD, but I was happily surprised to see that, considering the little practice I had, this one didn't turn out so bad and it was a bit easier to do than I had dreaded! Still, hard on the arms, and I was running late for the shoot, so it's not a fishtail all the way down - one third down (or so), it ended up morphing into a regular three strand 🤣. Still, I think it still looks pretty cool as is! And it's a good hack if you also have long, long hair and don't want to spend so long fishtail-braiding xD. I secured all sections of this braid with transparent elastics.


3) Accent side-braids:  Separate a piece of hair at each side and braid it. It can be a simple 3-strand braid, or a lace braid, French braid or Dutch braid. In this case - three strand, imitating Elrond's main hairdo in The Hobbit movies. You can rest your arms a bit more with this step, even if mini braids can also be pretty time consuming with very long hair. Secure with transparent elastics.
 
4) Final touches:  I added a thin circlet, tied at the back with some golden cord and also secured with a silver leaf barrette (which also serves to hide the knot). You can also use bobby pins/open pins as needed to fix anything in the braids.
 
Add aloe vera gel or a bit of gel or hairspray to set the style and potential flyaways (if you want), and it's done!


For the Dagorlad style, I just looped the front mini braids into and around the main back braid. I tried this at the end of the shoot, and also ended up wearing the style as an updo, with a fork and a casual cinnabun :


  I also used these couple of video tutorials as reference, from Loepsie and Silvousplaits


Picture gallery with more shots from the 2022 cosplay shoot, also feating mid-thigh length shots:


SwordWomanRiona / rionashairblog.blogspot.com.es

Do not copy-and-paste this post and/or alter it without any permission, credit or link. Ask before using my work, or at least give credit to me and my blog (beauty site who kept stealing my content a while ago, I'm looking at you).

Monday, 27 February 2023

Length hairstory - 2014: past mid-thigh and towards knee

This is the fifth in a series of individual posts about my hair growing milestones over the years, featuring a pic spam of length shots xD You can also find an abridged version of my hair journey from 2010 to the present in the 'My hairstory' page.

Previous post: 2010 hair (tailbone length), 2011 hair (classic length), 2012 hair (fingertip length), 2013 hair (mid-thigh).

In 2014 I continued growing my hair with minimal microtrims, surpassing mid-thigh and creeping ever closer to knee 😃 (which I reached in May 2015). I also attended my very first LHC hair meet in London during the Summer 😄, and cosplayed Lúthien for the first time 💙. While 2015-16 would mark my knee milestone, but also the worst  hemline I've had in years due to a harsher shedding resulting from vitamin deficiencies (which are now under supplemental control 😅), in 2014 this shed wasn't as noticeable yet, and my hemline stayed pretty good throughout the year, considering I only went for microtrims as my main goal was to reach knee.  I've had in years  Monthly pic spam incoming!

  • January: I reached mid-thigh in October 2013, and in January 2014 I had already surpassed mid-thigh, with the yearly goal of continuing to grow towards knee. These are my fave pics in 2014 regarding the hemline 🤩- I had spent a while first maintaining at fingertip, and then a bit at mid-thigh as well, in order to thicken it up and also even it out a bit (this is completely subjective, and fairytale hair is beautiful as well as I've worn it fairytaled a lot too, but my favourite kind of hemline is the straight, blunt one):
January 2013 (just past fingertip), to October 2013 (mid-thigh), to January 2014 (past mid-thigh).

January 2012 vs January 2014 comparison, from past fingertip to past mid-thigh

January 27 length shot, with a hemline I was really happy with. I also love how red the ends came out in the pic!

I was torn between maintaining here or growing to knee and then maintaining - because it was so close already! So I ended up doing a couple of microtrims, and kept growing to knee.
  •  April:  After a microtrim in February, length is still on its way past mid-thigh to knee, and the hemline is still looking good to me 😊. Also, some of these length shots still look darker red because of the remaining dye from my Manic Panic 'Vampire Red' vegetal dyeing adventure back in 2013 xD
  • May: All lengh shots from May include braidwaves and bendy rollers curls, and most of them accompany my Lúthien cosplay debut 😄💙:


And another length pic featuring heatless texture: braidwaves and curls with bendy foam rollers:


Length shot group at the LHC meet in London

 Length shot with fellow longhair Piffyanne (I think she's no longer on the forum?). We had roughly the same length, with mine being just a little bit longer xD
  •  September: Edging closer to knee! Only have some length shots with a black skirt and a mix of some braidwaves and my natural texture in the ends, though xD 


  • December:  More Lúthien length shots for the end of 2014, and also featuring heatless braidwaves and bendy rollers curls. Wavy and curly ends of course make the length look shorter than it actually is, but no actual length shots from either May or December from 2014, I'm afraid xD


Contrary to rag/bandanna curls, bendy rollers curls tend to make my hemline look less thick than it actually is, with these kind of curls making the hair clump more.
 
So, now quite close to knee, I had the plan of getting there, and then maintainig at knee to thicken up the hemline again, as I'd done at classic, fingertip and mid-thigh. Depending on the state of my ends and the shape of my hemline by then, I was even considering a bit chop from knee back to mid-thigh or fingertip to get rid of most of the damage in the ends (and then either growing to knee again or maintaining at mid-thigh as the goal length) - I did start doing bigger trims in late 2017, after the bid shed of 2015-16 😅. But before that - 2015 and knee-length!
 
SwordWomanRiona / rionashairblog.blogspot.com.es


Tuesday, 27 September 2022

Cosplay hair - 2016-22 Elven nature shoots

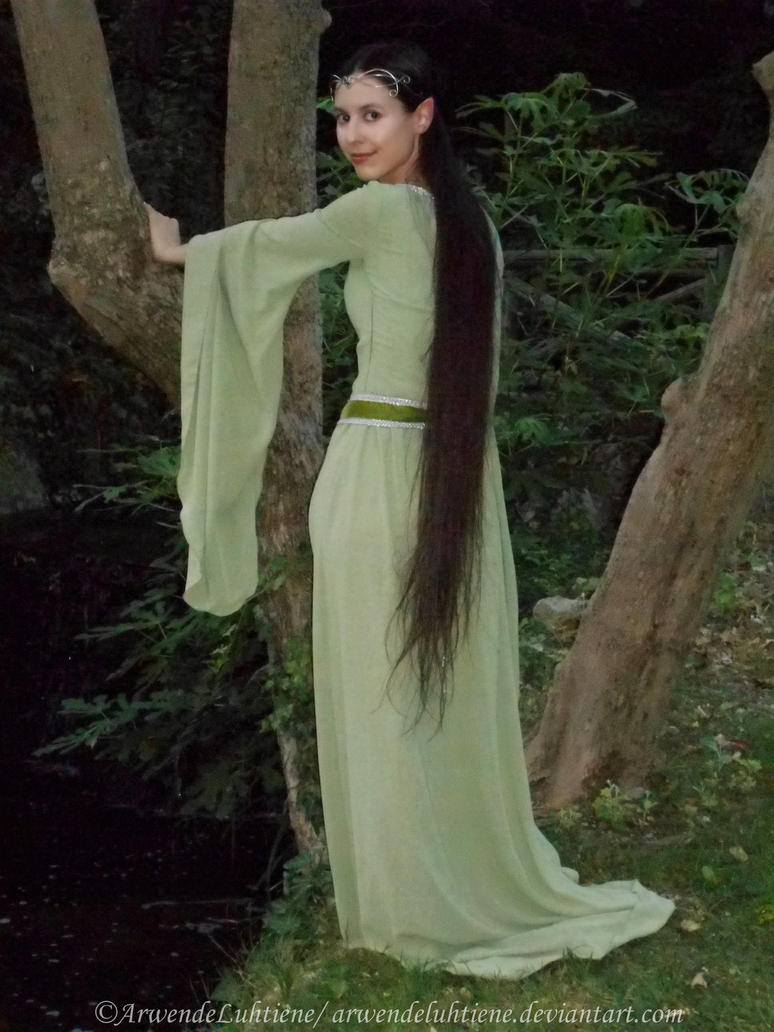
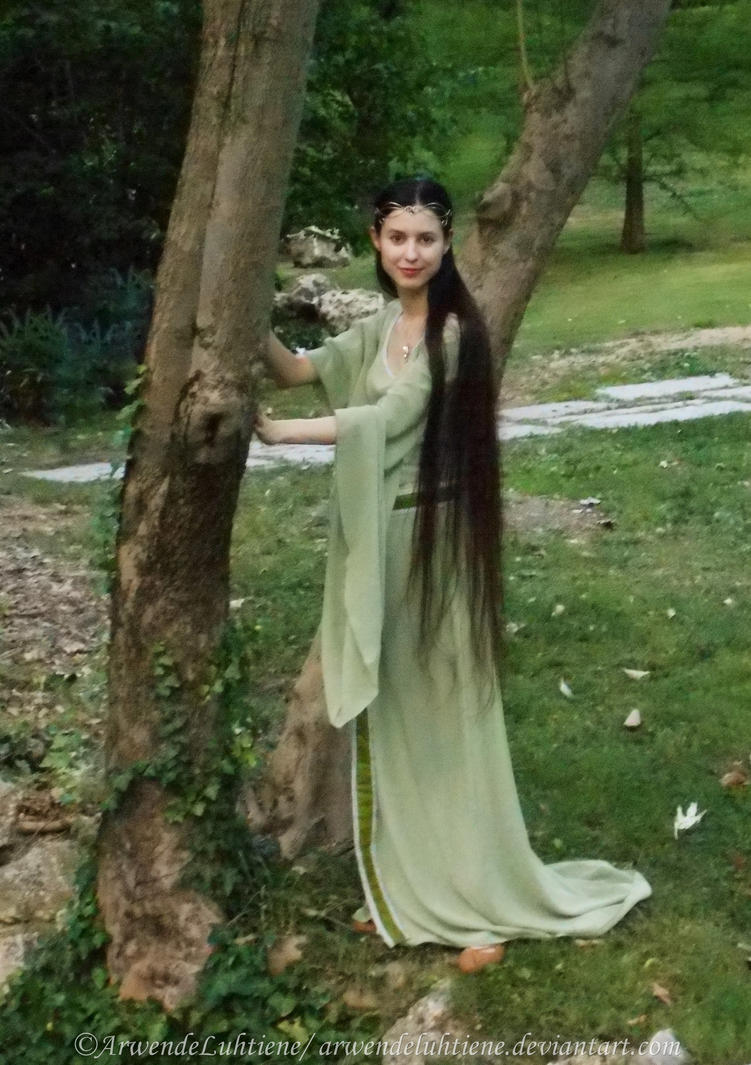
Another Elven cosplay post (usually a Rivendell OC, but could also be Arwen), containing mainly lots of pics with length shots and circlets 😄🍃✨. There are two sets of pics of the same cosplay from two different nature shots, one from 2016 (with knee length hair, in a bit of a worse condition hemline-wise) and a more recent one from June 2022 (a bit past fingertip length, shortly after a seasonal trim):
 
🍃2016 shoot:


-Also, the first pics from the 2016 pics include a length shortening half-updo which was originally a seashell bun, and it also looks quite nice in Elven cosplay: 


🍃2022 shoot:


SwordWomanRiona / rionashairblog.blogspot.com.es

Don't copy-and-paste this post and/or alter it without permission. If you want to share this work, please give credit to me and my blog.