Wednesday 2 February 2022

Length hairstory - 2013 and mid-thigh


You can find an abridged version of my hair journey from 2010 to the present in the 'My hairstory' page. This is the fourth in a series of individual posts about my hair growing milestones over the years, plus a pic spam of length shots xD

Previous post: 2010 hair (tailbone length),  2011 hair (classic length), 2012 hair (fingertip length).

After 2012 and fingertip length, in October 2013 I reached mid-thigh, maintaining a reasonably good hemline, with microtrims in-between. Mini pic spam!

  • January: Under fingertip length. I really like the contrast between the indirect light and the direct sunlight on the ends in the second pic.
 

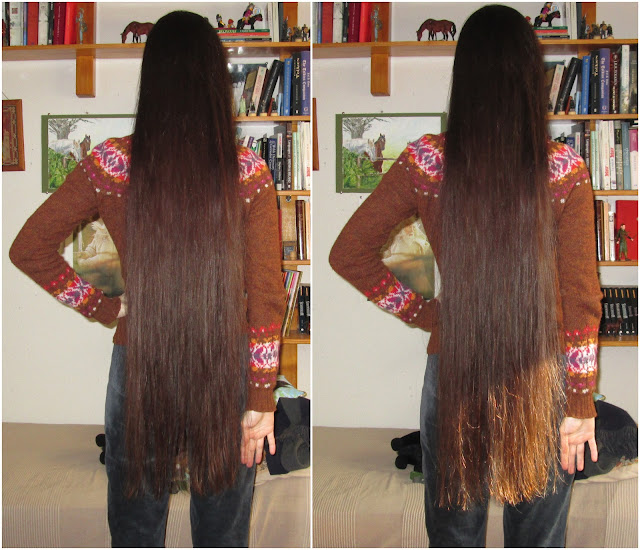
  • October: Finally reached solid mid-thigh!

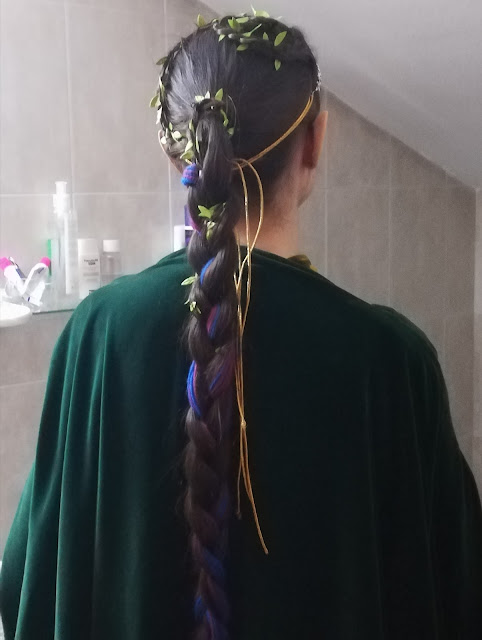
  •  October: Length shots with my Noldorin Elf OC cosplay for a Tolkien convention. First ones are with my natural straight texture, the last one features braidwaves and bandanna curls at the ends:


  • December: Ending this post with a length shots with some bandanna curls -
 
SwordWomanRiona / rionashairblog.blogspot.com.es

Do not copy-and-paste this post and/or alter it without any permission, credit or link. Ask before using my work, or at least give credit to me and my blog (beauty site who kept stealing my content a while ago, I'm looking at you).


Cosplay styles - Rivendell Elf multibraided ponytail

Today's cosplay hair post is another Elven style, this time for my Rivendell Elf formal robes from a 2018 convention.  It's a braided paranda ponytail with a side braid coiled around the head and joining the main braid, decorated with leaf ribbon. A thin circlet with small leaves finishes the look.


  • For this style I used (and you can use):
-Wide-tooth comb and/or brush as needed
-A metal-free elastic for the initial ponytail
-Open pins, bobby pins (as needed)
-Paranda for the braid
-Leaf ribbon (or similar ribbon)
-A circlet
-Hairspray and/or fixing gel and/or aloe vera as a light fixator, as needed  


  • Steps:
1) Side braid: Separate a piece of hair at the side and braid it, adding ribbons (in my case, I used leaf ribbons). It can be a simple 3-strand braid, or a lace braid, French braid or Dutch braid.

2) Braided paranda ponytail
 
-Pull the rest of the hair into a high ponytail - mid-height is my preference -, and secure it with a metal-free elastic. 
 
-I didn't take a lot of clear pics, but what I did next is coil the beribonned side braid around my hair is a half-spiral, half-headband shape (I basically didn't have anything planned and improvised xD), securing it with open and closed pins as needed, and finally coiling it around the ponytail base and securing it there as well.
 
 -Braid the ponytail, with a paranda for added volume, and including the accent braid in one of the three parts (tutorial here). 

 
 3) Final touches
 
-I use a couple of open bun pics to polish some flyaways at the nape.
 
-Add aloe vera gel or a bit of gel or hairspray to set the style and potential flyaways (if you want), and it's done!
 
During this same convention, I also made a simpler half-up with two three-strand beribboned side braids with the sale leaf ribbon, braided together into another three-strandat the back, plus braidwaves and a circlet:


SwordWomanRiona / rionashairblog.blogspot.com.es

Do not copy-and-paste this post and/or alter it without any permission, credit or link. Ask before using my work, or at least give credit to me and my blog (beauty site who kept stealing my content a while ago, I'm looking at you).