
- Three-strand braided half-ups:
✨A single three-strand braid at the back:


✨Three-strand side braids held together at the back in another three-strand braid (or just two side braids):

- With ribbons:
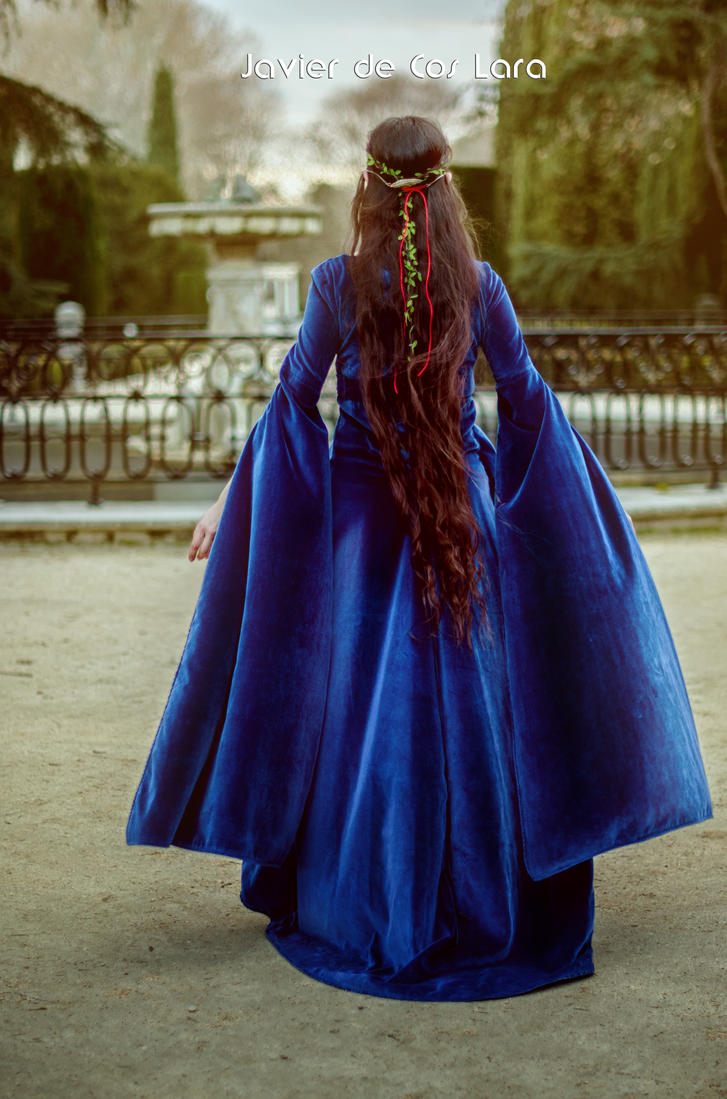
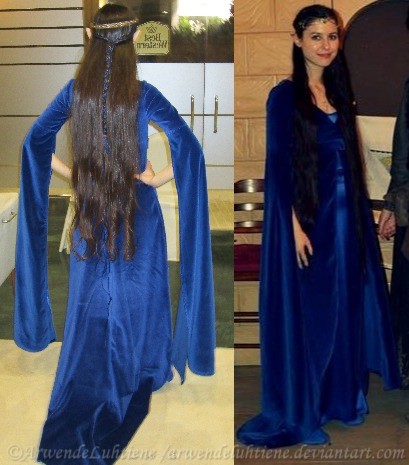
✨Three-strand braid at the back:


✨Elven cosplay styles, also featuring side braids:


✨Elven-ranger cosplay multi-braided half-up: Individual post here.


✨Two three-strand side accent braids knotted together:


Just experimenting one Summer day (don't mind the clumpy, braidwave-free ends xD That's what happens when you want braidwaves but forget about the tassel *mental facepalm*. For heatless waves, I'd say either braid all the way down to the ends, as far as you can get, or my favourite, bandanna/bendy rollers waves for the braid's tassel. Unless you like this kind of wavy-then-straight look, of course. Everyone is different.)
- Rope-braided half-ups:
✨The Catelyn Tully half-up:


✨Two rope side braids held by decorative pins and braided into another rope braid at the back:
- Fishtail-braided half-ups:
I handle the fishtail (more or less) when braiding my 3-strand braid tassel...but I still have a practice a lot if I want to do a full/half-up fishtail braid from the top. Yes, I've hardly practiced this braid.
-2022 update: I'm getting the hang of it more now, and usually wear it with my Elrond cosplay


- Just two pieces of hair held back with an elastic and/or barrette:


- Bunned half-ups:
✨Cinnabun:
I generally use the elastic I use to secure the two side pieces of hair as an anchor for this little bun, same as I'd do with a full bun. You can also bun the sections without any elastics, of course, I just find this easier because my hair is so slippery.


✨Braided bun with parandas+side braids: Aka the Eärien style from Rings of Power S1 (with added parandas). Individual post here


SwordWomanRiona / rionashairblog.blogspot.com.es

Do not copy-and-paste this post and/or alter it without any
permission, credit or link. Please ask before using my work, and share it
properly, giving credit to me and my blog.

