
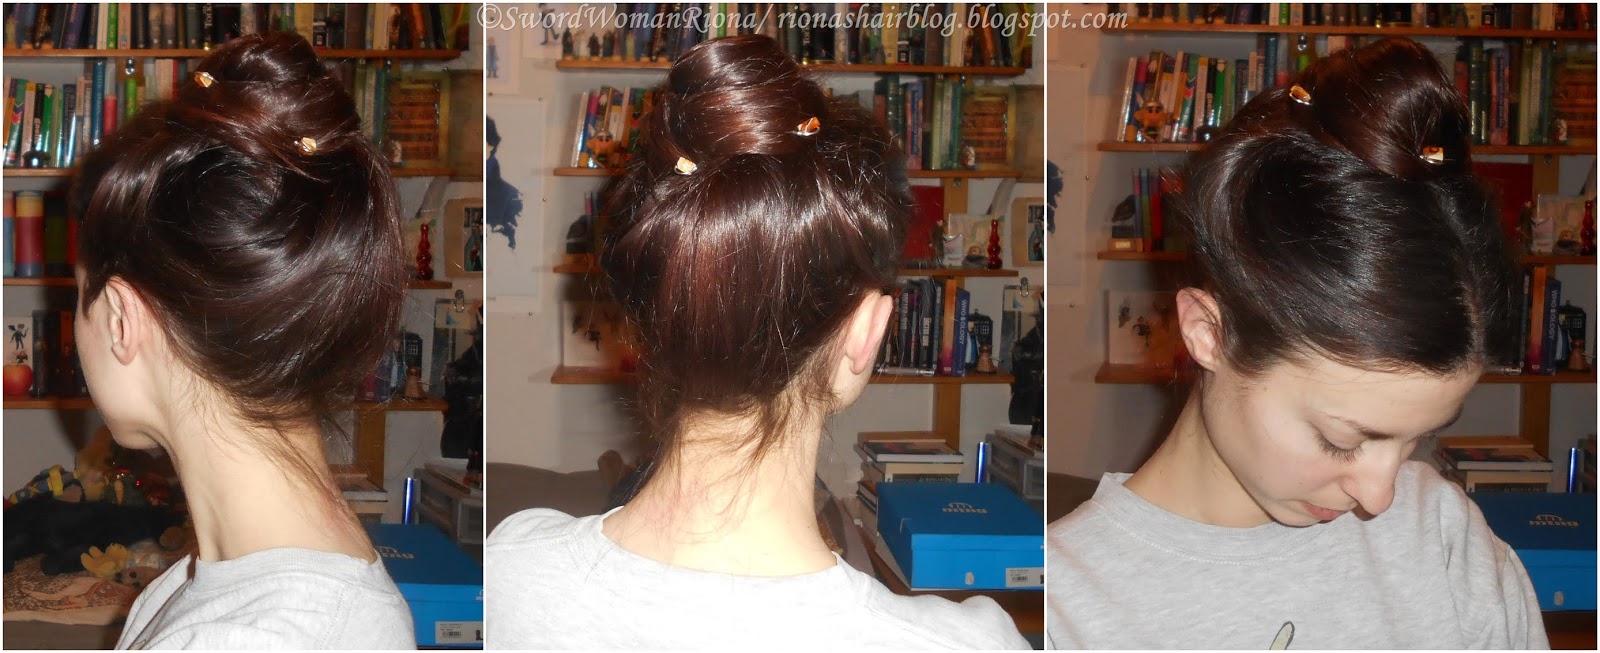
I love Edwardian hairstyles, and have been
getting some experience at it thanks to my cosplay of Missy (from
Doctor Who), who wears elaborate Edwardian-inspired updos 😁☂️💜 But
I've been wanting to add historical styles to my weekly updos as well,
so here's an Edwardian updo (way less time consuming than Missy's,
thankfully xD), directly inspired by a style which @bernadettebanner often wears 💜 And thanks to @morgandonner for additionally giving me an impromptu tutorial of the style in that video where they imitated each other's hair 😁👌!
Here linked below are the videos which inspired this updo. I plan on doing a video tutorial of the way I do it as well, but in the meantime I'll be adding some written steps as usual!
A mini-visual tutorial of the style from 1:34 -1:54
In this video, Morgan Donner imitates Bernadette's hair in this style. Bernadette briefly explains it from 15:00-15:48
- For this style I used:
-Initial texturizer (optional): Dry shampoo or similar hair powder.
-Comb and/or brush as needed.
-Some bobby pins to hold the puffed-up side sections
-Some bun pins for the bun. In my case, the finishing pins @redoodle_arts got me for the last Long Hair Community Winter Swap work perfectly to keep this updo in place 👍
-Open pins for final touches as needed
-Optional fixators: Aloe vera gel, hairspray (I only used a bit of aloe vera gel in some places).
Steps:
Adjustments might have to be done to this style depending on length, texture and thickness. Bernadette and I seem to have a very similar hair type regarding texture and length (mine is a bit longer and slightly thicker, but not so much that it made any difference for the style), so her way of doing it worked great for me. In Morgan Donner's video we can also see how this style could work on a thicker and wavy-curly hairtype.
1) Initial texturizer: Applying a bit of dry shampoo to the sides of my hair is actually part of my daily routine, so I had already done this when I tried the updo xD Apart from keeping the hair clean between washes, dry shampoo can add additional texture that allows for more volume and hold, and I also recommend it when it comes to some historical styles, especially if your hair is more slippery and/or more fine-textured (like mine xD) and doesn't hold volume well. Other wavier/curlier and/or coarser-textured hairtypes might not need this.
2) Side sections and front volume: I separated two sections of hair at the sides and twisted them back, securing them at the back with some bobby pins, and adding some volume to the front without the time-consuming work of a full-on pompadour xD (this will probably be more explanatory in a video xD In the meantime, I also refer to Bernadette's brief tutorials above for the way she does it xD). I still haven't gotten the knack of how Bernadette and others achieve the swooped-out front-side volume, but I've achieved different results of how the front volume looks during three attempts, so I'll get there xD
3) Top bun: With the side sections pinned, I took the rest of the hair and twisted it up in a cinnabun at the top of my head, hiding the bobby pins in the process, and pinning the bun in place with some open metal bun pins. The back volume this style creates when you pile all your hair at the top is very Edwardian, but also newish to me, as I'm kinda obsessed to wear the hair at my nape obnoxiously flat and polished xD (even my Missy styles have a back French twist xD). But I'm liking it, and it's comfier than I thought it'd be!
Another option is to braid the rest of the hair that is down at this point, and then follow the same steps (twisting the braid in a cinnabun at the top of the head and pinning it in place):
4) Finishing touches: The open bun pins I used worked just great to hold the bun in place for the whole day, but you can add small open pins as needed to further secure the style. You can also add aloe vera gel or hairspray to set the style and get rid of potential flyaways (if you want), and it's done!
- Picture gallery of this style (to be updated from time to time) (for larger size, click on pics or open in new tab):
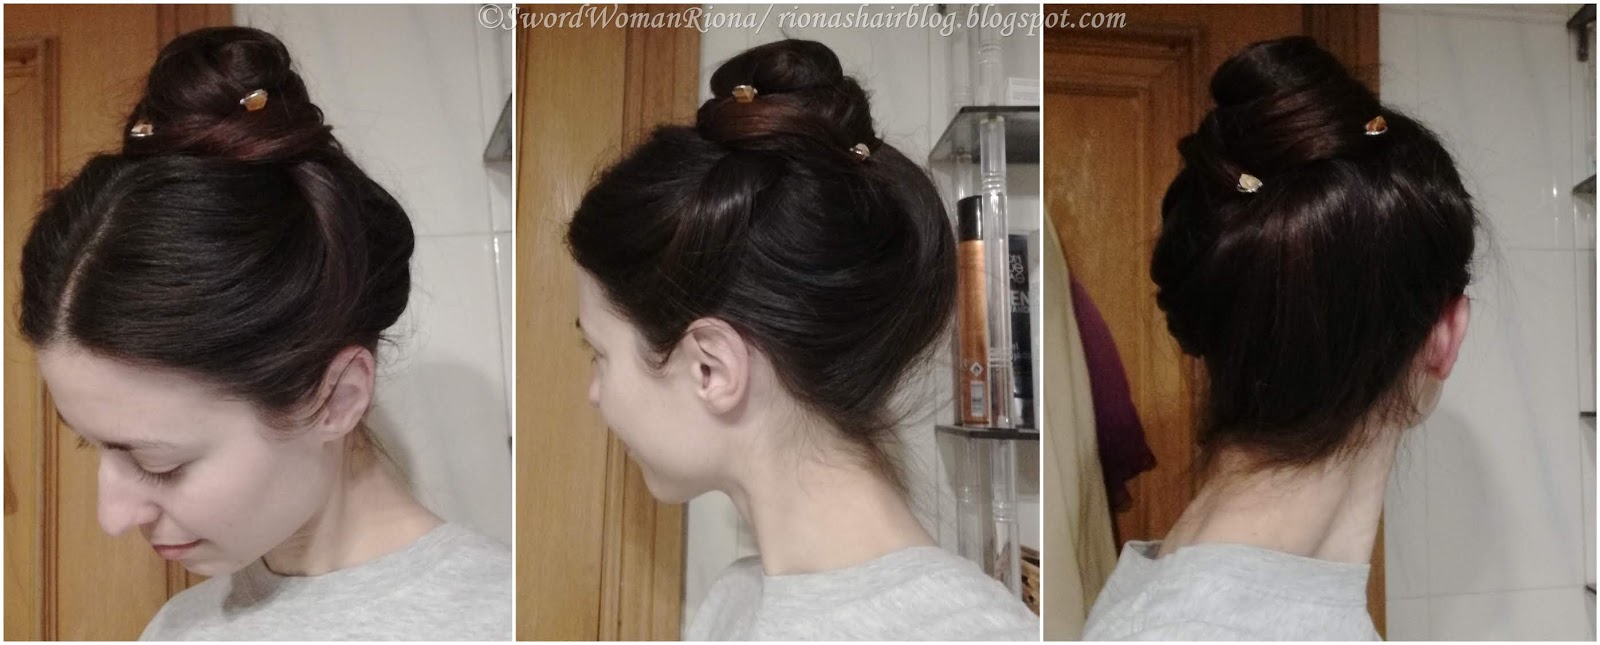


A more casual version from 2022:


-With braid: Couple of casual practice sessions from 2022


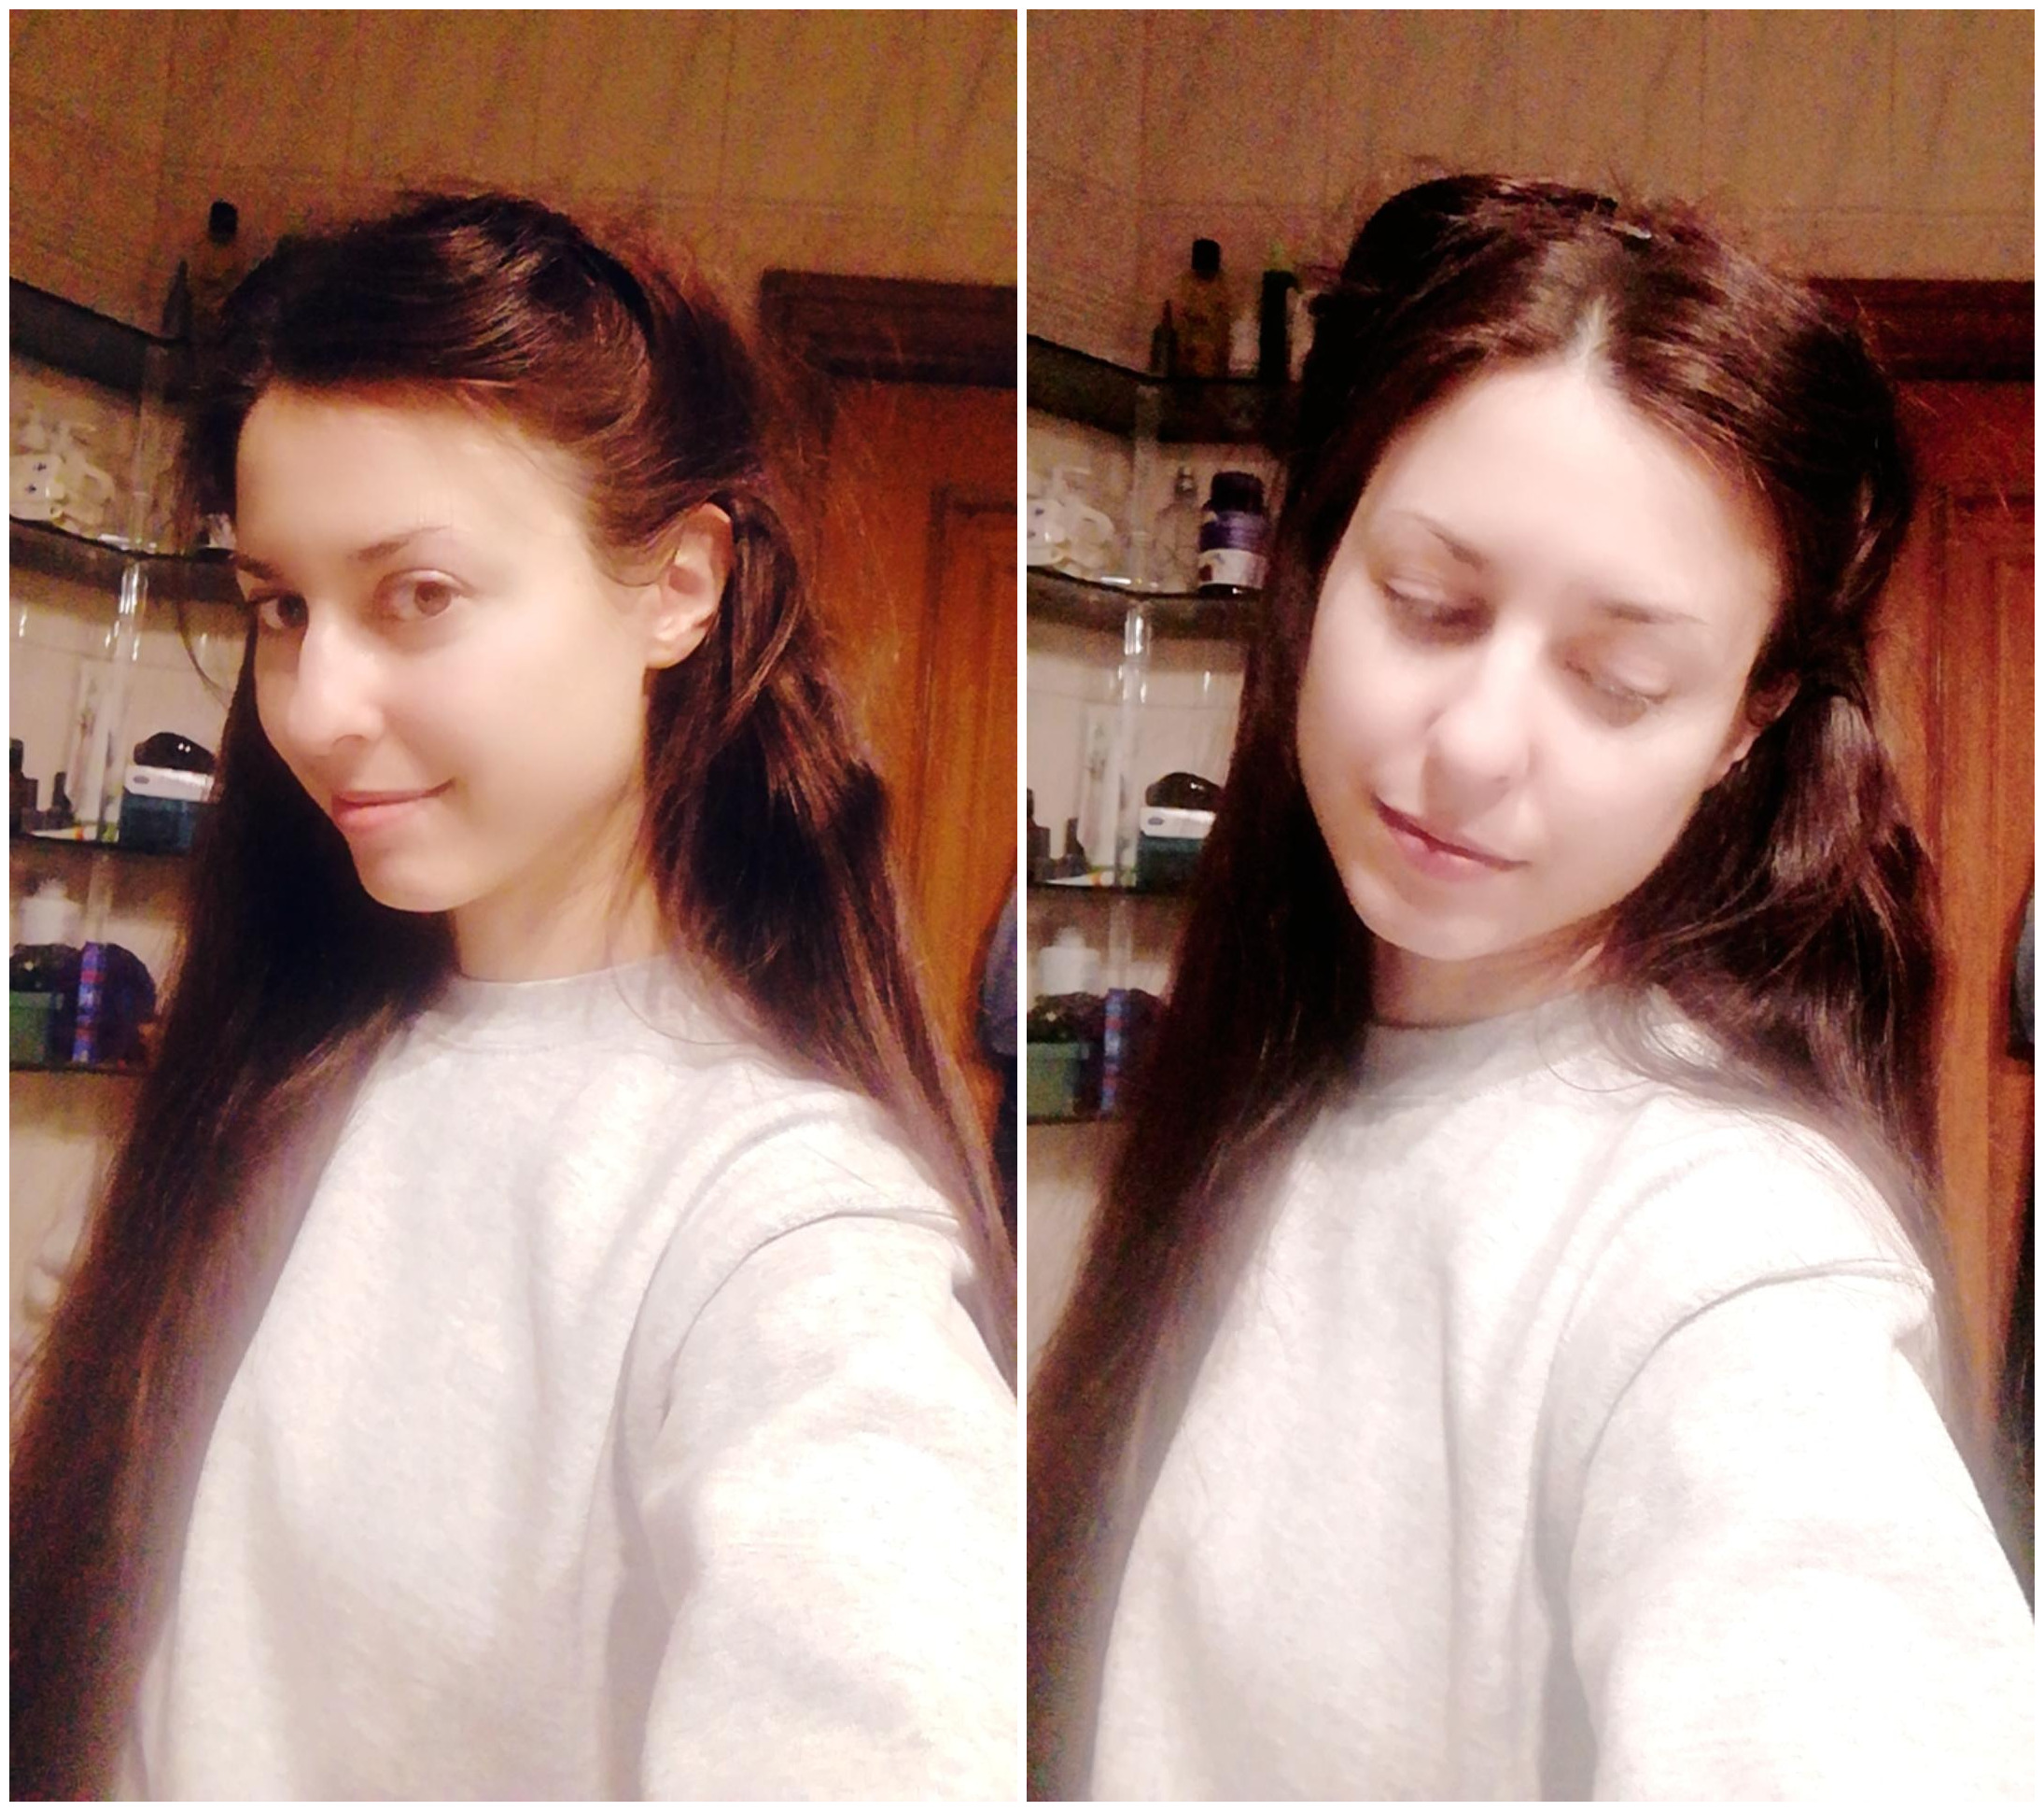
Just the front volume with length down:


SwordWomanRiona / rionashairblog.blogspot.com.es

If you copy-and-paste this post and/or alter it without any
permission, credit or link, you're stealing my content. In that case,
please stop. Please ask before using my work, or at least share it
properly, giving credit to me and my blog.


