Showing posts with label rope braid. Show all posts

Monday, 2 September 2019

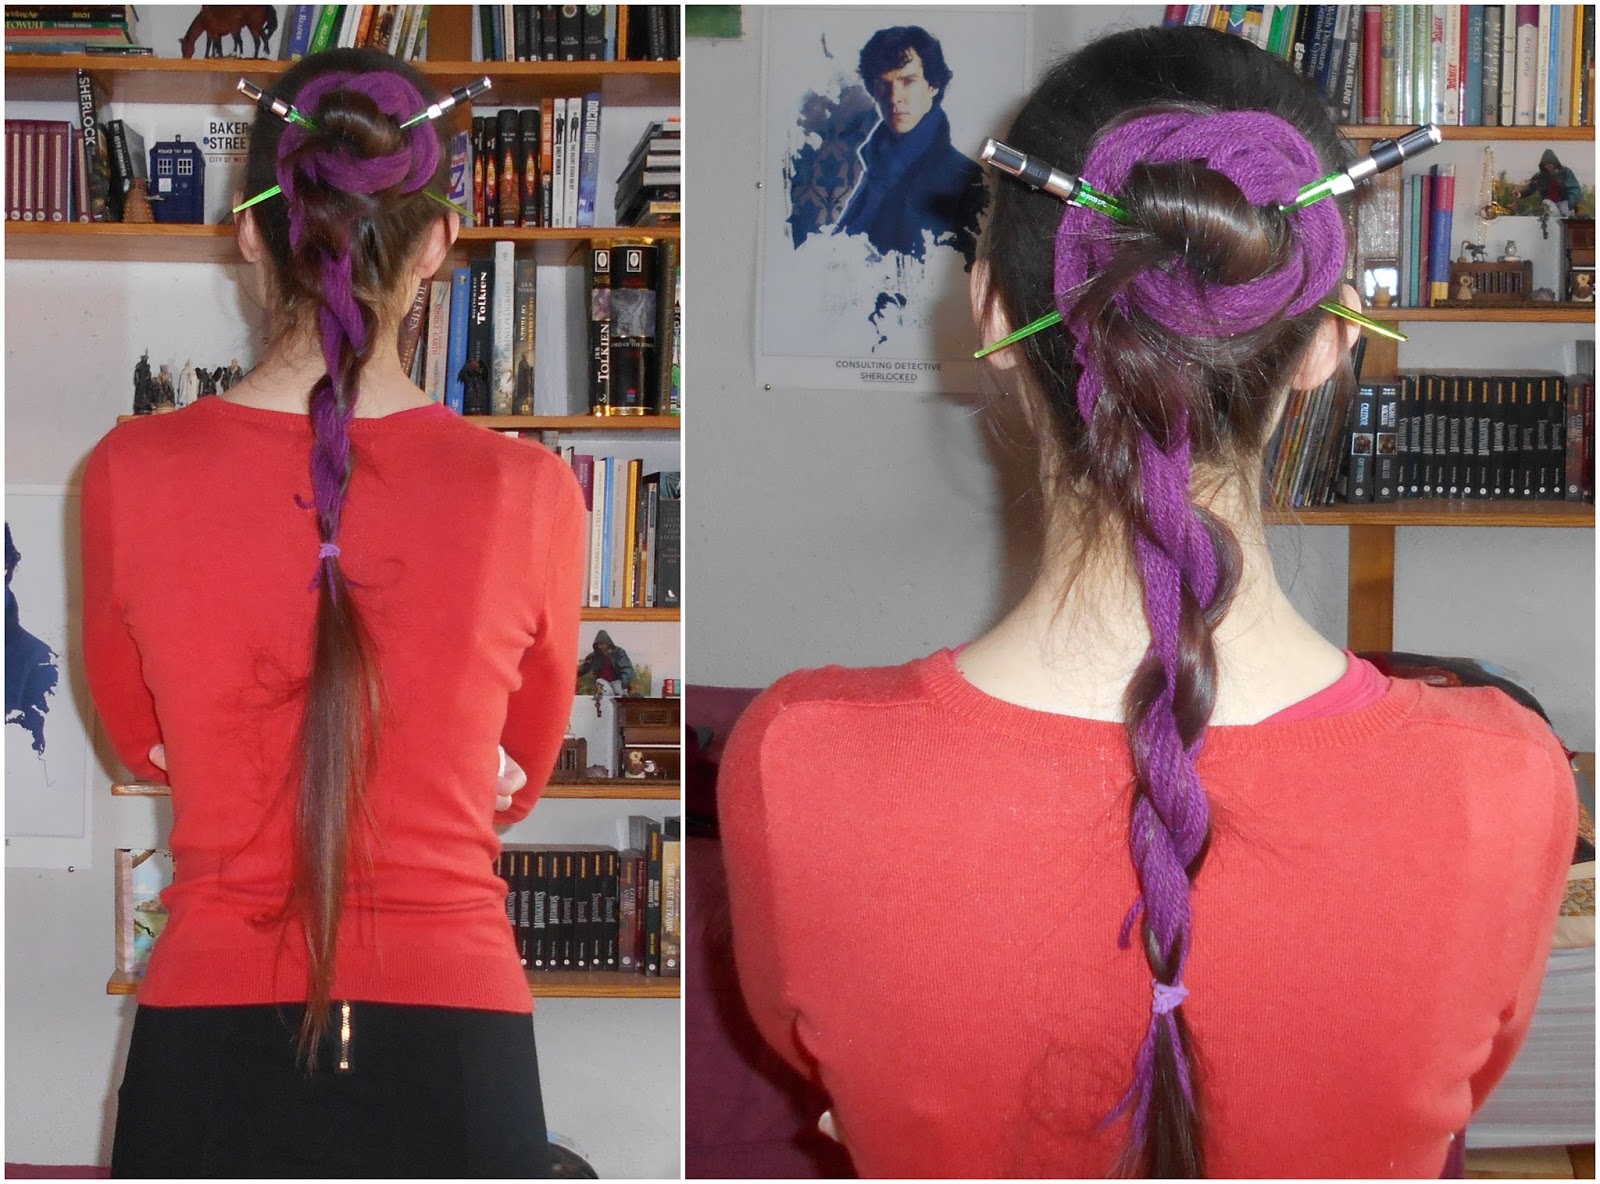
Hairstyles - Knotted braided ponytail (Valkyrie hairstyle variation)

 Today's hairstyle tutorial is a braided variation of the knotted 'Valkyrie Ponytail', which I learnt thanks to Janet Stephens' video:


This length-shortening updo/half-up is pretty easy and fast to do and very comfortable to wear. It's great for when you don't want to wear all your hair up, but also want to keep it a bit contained. Also, the knot tends to keep the dangling braid hanging a bit further away from the neck and shoulder area, and thus prevents it from getting stuck in stuff more easily. I've been wearing both the standard Valkyrie ponytail and my braided variation (either three-strand or rope-braid) as a weekly staple for nearly a year now :D. Recorded tutorials will be coming soon, but in the meantime here are some written instructions as usual :)

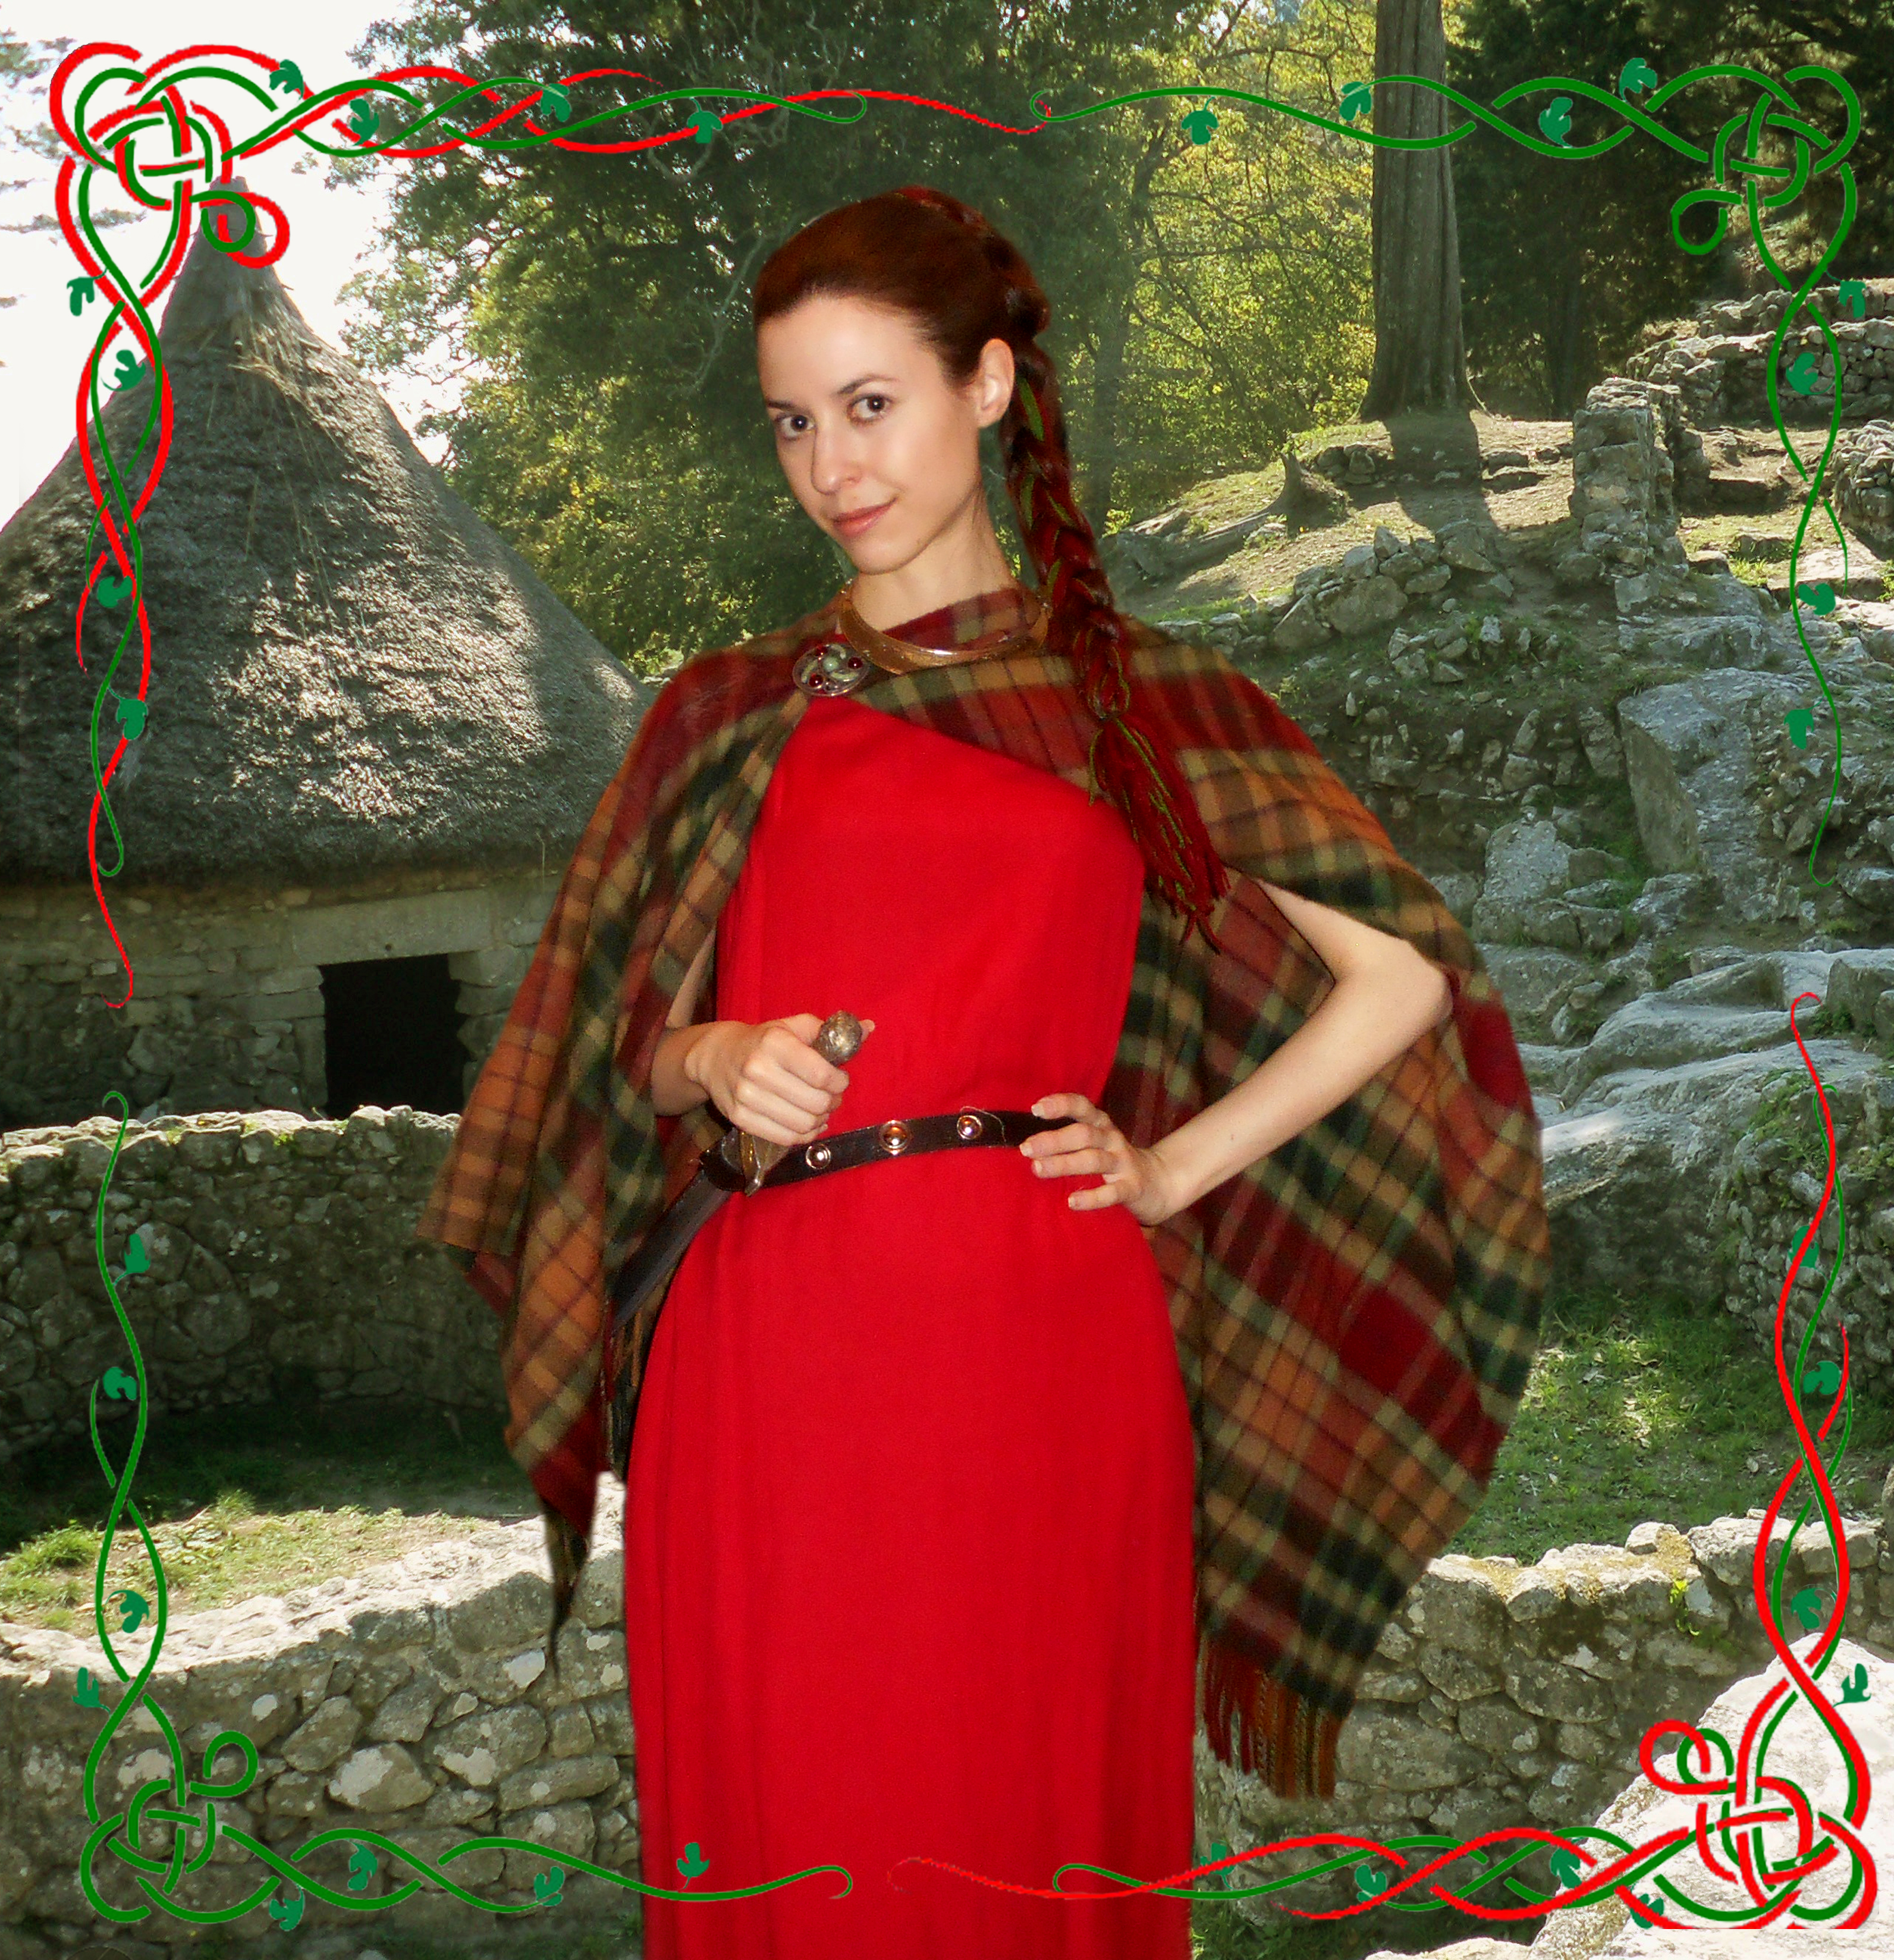
These pics are from an August outing and feature my red and green paranda . This ensemble always kinda reminds me of a Roman priestess for some reason 😃 xD


  • For this style I used:
-Comb and/or brush as needed.
-A metal-free elastic for the initial ponytail
-Paranda for the braid
-Hairstick
-Open pins for final touches

Steps:
 
-Pull the hair into a high ponytail - mid-height is my preference.
-Braid the ponytail, with a paranda for added volume (tutorial here). It can be a three-strand braid, or a rope-braid, for ex. 
-Now comes the knot - Same as described in the video above, but with the braid. The knot is enough to hold the hair in many cases, but I prefer to further secure the style using a hairstick. This also looks nice, and ensures that the hanging braid stays out of the way in a comfortable way.
-I use a couple of open bun pics to polish some flyaways at the nape.
-Add aloe vera gel or hairspray to set the style and potential flyaways (if you want), and it's done!

Pic gallery of this style: 


Tolkien ranger OC cosplay (2018):


Celtic sword-woman casual reenactment (2019):


 Medieval-inspired outfit with Merida's kirtle and cloak (2025-26):


SwordWomanRiona / rionashairblog.blogspot.com.es

If you copy-and-paste this post and/or alter it without any permission, credit or link, you're stealing my content. In that case, please stop. Please ask before using my work, or at least share it properly, giving credit to me and my blog.

Saturday, 9 December 2017

Hairstyles - The Rose bun / Updos with rope braids

Today's hairstyle tutorial is the Rose bun, or Rope bun, a fairly quick and simple hairstyle involving rope braids. I've seen this style usually referenced as 'Rose bun' when worn as a half-up. I'm not sure if other kind of rope buns would be called 'Rose buns' when they don't look much like flowers/roses :S xD (my rope-braided buns with parandas, or the more elongated rope-braided Chinese buns definitely don't look like a rose xD). I usually just call these rope-braided buns.
  • For these styles, I used:
-An elastic without metal for the initial ponytail (if you're going to make an starting ponytail, you can also rope-braid without tying your hair in an initial ponytail).
-Small elastics for the ends (can be removed later on)
-Hairtoys with which to secure the style: Small clips, barrettes, open pins, larger bun pins, hairsticks, etc
-Optional: A paranda (info about making parandas and braiding them into hair here). 
  • Steps: 
-Half-up version:

This half-up rose-bun with the rest of the hair in a cinnamon bun:
1. Put part of your top hair into a half-up and secure it with an elastic (the half-up can be higher or lower, involving the whole top half part of your hair or smaller sections). You don't need to tie the hair with an elastic to form a half-up, though - I you don't like elastics, you can directly braid these sections of hair into a rope braid (step 2.). I use both methods, depending on the day.

2. Divide this section of hair into into two parts and rope-braid it. The tighter the rope braid is, the rose effect will be smaller and more intricate; a looser rope-braid will give a bigger, simpler 'rose'.

Rope-braiding tutorials:

The rope braid is, in my opinion, one of the simplest braids alongside the three-strand braid. When you add a paranda, the method is similar: First of all, instead of three sections you want the paranda to have two, given that this braid only has two sections. I do this by dividing the middle strand of the paranda equally between the left and right one. Then you add one section to each section of hair and twist the two combined hair+paranda strands to form a rope braid in the usual fashion. Be extra careful not to let the paranda slide down when you start twisting!

When you finish the braid, secure the end with a small elastic so that the coils don't unravel! You can use a transparent elastic, a small elastic in your hair colour, or just any colour (you can remove it just before securing the bun, or hide it).

3. Now you have a rope-braided half-up, to form the rose bun you start wrapping the braid in a coil - You can start coiling the end of the braid until you get to the elastic/braid base (I think this is the usual method, as seen in other tutorials), or alternatively start at the base and coil the rest over it.

4. Secure the bun with the hairtoys of your choice - If you don't want any hairtoys to show, I'd go with open bun pins, bobby pins and/or spin pins. Small clips at the sides don't hide the rose shape and provide the necessary hold, too. If you want additional decoration, go for a hairstick, a flexi-8, a barrette,...For a larger 'rose', pull genty at the coils to make it looser and larger.

-Variations: For these 'flower-shaped' braided half-ups, you can actually use other braid types, such as three-strand braids or fishtail braids. You can also make not just one, but two or more braids and combine them.

-Full bun versionRepeat the same steps above, but this time you pull all your hair into a ponytail (as high or low as you want). Like before, either secure it with an elastic or just hold it in position in order to braid it without an elastic base. Create a rope-braid as before, and coil it in order to form the rose shape.
  • Other rope-braided buns: These don't have the 'rose shape', so I just call them 'rope-braided buns'. The pics I have are all of one-coil Chinese braided buns:


SwordWomanRiona / rionashairblog.blogspot.com.es

If you copy-and-paste this post and/or alter it without any permission, credit or link, you're stealing my content. In that case, please stop. Please ask before using my work, or at least share it properly, giving credit to me and my blog.

Wednesday, 2 November 2016

Hairstyles - Noldorin Elf cosplay crown braided updo: Rope-braid version

Yesterday I did a Rivendell Elf cosplay shoot in some public gardens and went, once again, for a crown-style braided updo for my Noldorin Elf OC (Both my personal headcanon and some Tolkien references describe Noldorin ladies as wearing braided updos (crown braids or other), and bejewelled hairnets, snoods and tressures). So far, I have tried three variations:

1. A rope-braided, hair-taping inspired crown updo:


And now, 
3. Same updo as 2., but with rope braids instead of three-strand braids. 


  • For this style, I used:
-An elastic without metal for the initial ponytail.
-Two parandas (info about making parandas and braiding them into hair here). Parandas are optional, but a nice addition if you want added volume and colour. You could also use ribbons and/or (metallic) cord.
-Bobby pins (closed and open). Lots of them in my case xD

  • Steps (video tutorial planned!):
The steps I followed for this 'Noldorin updo' are nearly identical to the Three-strand braided crown-style updo, only I did rope-braids in this case.

1. Pull your hair into a high ponytail (or a low one, I went with a high one) and secure it with a hair-friendly elastic without metal.
2. Divide your hair into two parts. Braid each section (rope braiding), adding a paranda (optional).
3. Pin each braid around your head with closed bobby pins. I pinned one braid first until I reached the elastic at the back of the head (and left the rest hanging), and then pinned the other in front of the first one. You can also criss-cross them. 

4. Wrap and pin the remaining length of both braids around and over the elastic at the back, hiding it and creating a bun.

5. I added an amethyst hair pin as final decoration

More hair pics from the shoot:


SwordWomanRiona / rionashairblog.blogspot.com.es

If you copy-and-paste this post and/or alter it without any permission, credit or link, you're stealing my content. In that case, please stop. Please ask before using my work, or at least share it properly, giving credit to me and my blog.


Friday, 13 May 2016

Hairstyles of the week - Donut buns

Yesterday and today's donut buns:

-Thursday: Donut bun with the small foam donut and the rest of the hair in a rope-braid with a paranda. The central part is a bit lopsided xD

-Today: Simple donut bun with a larger foam donut

SwordWomanRiona / rionashairblog.blogspot.com.es

If you copy-and-paste this post and/or alter it without any permission, credit or link, you're stealing my content. In that case, please stop. Please ask before using my work, or at least share it properly, giving credit to me and my blog.

Wednesday, 28 October 2015

Hairstyles - Rope-braided length shortening buns

In today's post, I'll be showing two length-shortening buns (I also call them half-updos). These are great if you want to put up your hair but still show some length, or if you want to experiment with shorter lengths for a change :)

1. Rope-braided length-shortening bun

I wear this one fairly often. It involves rope-braiding and parandas.

  • For this style, I used:
-An elastic without metal for the initial ponytail.
-A paranda (info about making parandas and braiding them into hair here). The paranda is optional, but a nice addition if you want added volume, hold and colour.
-A stick, flexi-8 or clip.
-Optional claw-clips and/or open bun pins for added hold.
  • Steps:
Video tutorial:

1. Pull your hair into a high ponytail and secure it with a hair-friendly elastic without metal. I find this style works best on medium to high ponytails, but of course, that depends on your personal likings.
2. Divide your hair into two parts. We're going to rope braid it adding a paranda.

The rope braid is, in my opinion, one of the simplest braids alongside the three-strand braid. Here is a tutorial. When you add a paranda, the method is similar (see video tutorial above): First of all, instead of three sections you want the paranda to have two, given that this braid only has two sections. I do this by dividing the middle strand of the paranda equally between the left and right one. Then you add one section to each section of hair and twist the two combined hair+paranda strands to form a rope braid in the usual fashion. Be extra careful not to let the paranda slide down when you start twisting!

3. Now you have a rope-braided high ponytail, to form the length-shortening bun you start coiling the length around the ponytail base, leaving some of the length hanging down. With my knee-length hair, I usually coil the braided length twice (which gives me a waist+ shortened length). The number of times you wrap the length around the base will depend on your initial length, and on how long you want the shortened braid to be.

4. Secure the part that's up in a bun with a clip, flexi-8 or hairstick. I usually add a couple spin pins, small claw-clips or some open bun pins in order to add a bit more hold to the finished style so that it stays put for the whole day.


2. I don't have an specific title for this second style, it was improvised. Low coiled length-shortening bun?

The starting point is loose hair with a simple half-up (side strands of hair held at the back with a small elastic and/or a decorative clip). I then gathered the loose hair into a low ponytail (without tying it with an elastic), and coiled some of the length into a cinnamon bun, pinning it with some open pins. In my experience (I have very fine-textured slippery hair), this style wasn't very secure, and the bun fell in a short space of time. I'd need an elastic as base and more hold when securing the bun. Also, I generally don't favour low buns because they scrape my nape and I find them uncomfortable.


SwordWomanRiona / rionashairblog.blogspot.com.es

If you copy-and-paste this post and/or alter it without any permission, credit or link, you're stealing my content. In that case, please stop. Please ask before using my work, or at least share it properly, giving credit to me and my blog.