Tuesday, 27 March 2018

Length hairstory - 2011 and classic

You can find an abridged version of my hair journey from 2010 in the 'My hairstory' page. This is the first of a series of individual posts that's basically about a bit more detail about my hair growing over the years, plus a pic spam of length shots xD
Previous post: 2010 hair.

Now back into haircare thanks to the Long Hair Community (I always kept my hair free of tangles, microtrimmed from time to time and found out about aloe vera, and cassia and tea-rinses), my goal in 2011 was to grow the shortest parts of my uneven hemline to classic and then trim my hair in a straight hemline. Thanks to my new haircare routine, I slowly regained most of the thickness I had lost 'thanks to' my not-so-benign neglect of the few years before, and finally achieved a blunt hemline at classic in August 2011 :D. I was really happy with my hair at this point (and I've recently achieved a similar hemline by cutting from knee to fingertip after going through a pretty bad shedding during 2016):

This pic from August 2011 is officially one of my fave hair pics:
 Pic spam of 2011 in hair:

  • January-February 2011: A little more than a month after I joined LHC, the longest parts of my hair got to classic length. But my hemline was too uneven to my liking because of a former inexperienced microtrim. Already regaining quite a lot of lost thickness back (taking good care of your hair really does wonders):
  •  April 2011: I must have microtrimmed the side a bit by this time, because the hemline was looking a bit straighter in Spring 2011 pics, but it became quite uneven again by June:

  • June 2011: As you can see (if you can with that horrible lighting xDD), my hemline had become quite uneven again. I decided to wait until all the shortest parts of my hair reached solid classic before trimming the hemline, though:

More June 2011 pics:


  • July 2011: Uneven part of the hemline can't be seen from this angle (the perspective of quite a lot of 2011 pics are fooling me with the uneven hemline business xD), but very nearly at classic (with the longer part of the hemline already past it):
 
  • August 2011: Trimmed the hemline at solid classic (approx. 1"). Before the trim, the left part of which had been a bit past classic and the right part nearly at fingertip!  Personally, I think my hair, which is naturally not very voluminous even if ii/iii in density, looks the best with a blunt hemline like this one, it's when it looks thicker: 
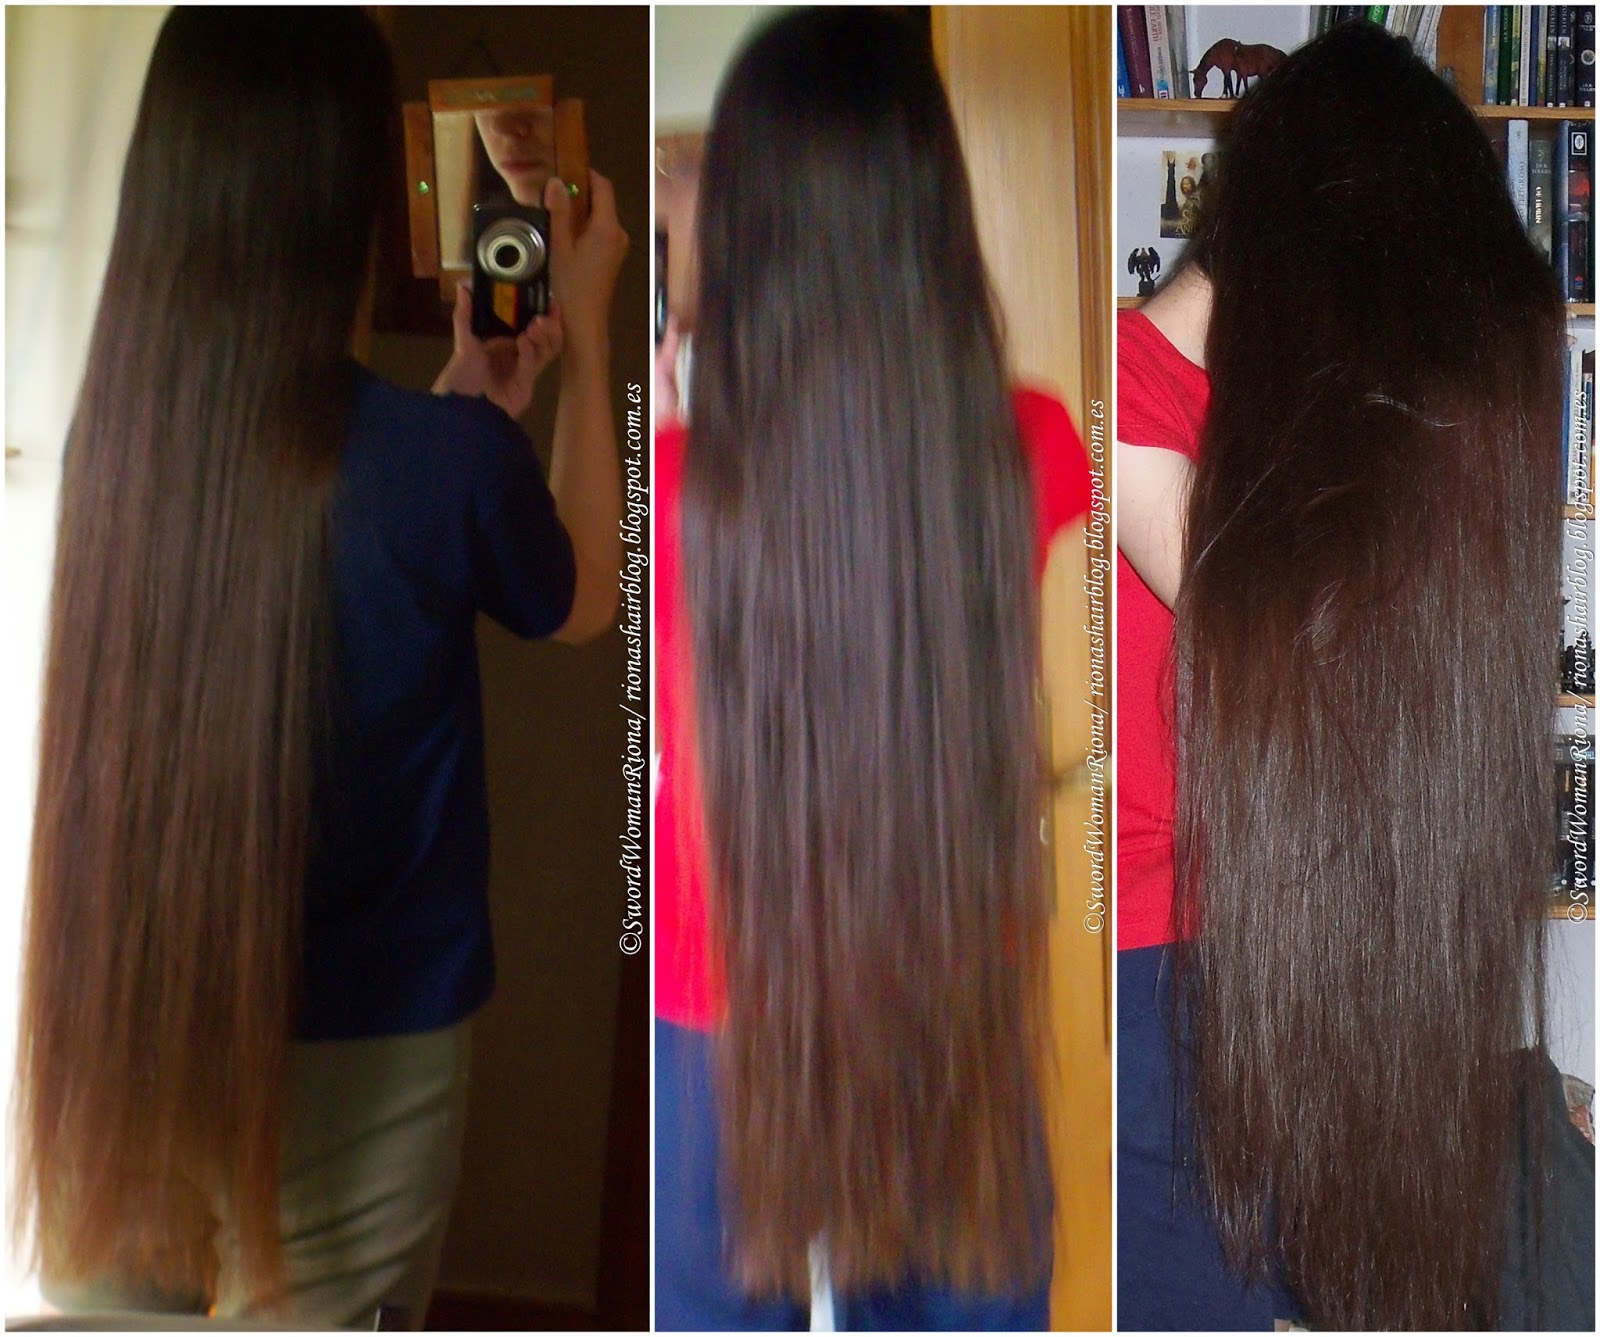
July - August - September 2011


  • September 2011: Did a cassia treatment:
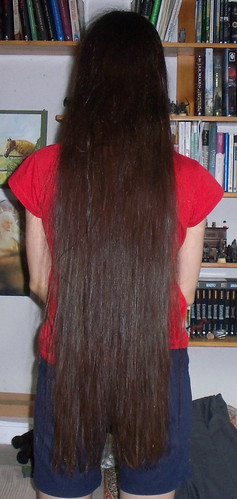
  • November-December 2011


Braidwaves and bandanna/rag curls in the ends:


  • December 2011:Still maintaining at classic. By then, my next goal was fingertip.


Druidess willow headdress test :D
 
Bonus hair colour shot:


Next stop - 2012 and fingertip!

SwordWomanRiona / rionashairblog.blogspot.com.es

If you copy-and-paste this post and/or alter it without any permission, credit or link, you're stealing my content. In that case, please stop. Please ask before using my work, or at least share it properly, giving credit to me and my blog.

Sunday, 25 March 2018

Length hairstory - 2010

You can find an abridged version of my hair journey from 2010 in the 'My hairstory' page. This is the first of a series of individual posts that's basically about a bit more detail about my hair growing over the years, plus a pic spam of length shots xD

I've always had the intention of growing my hair long, but up to 2010 I went through a few years of benign-to-not-so-benign neglect. I let it grow, and it did keep growing, but I didn't do seasonal trims to even out the hemline, and didn't disentangle correctly or as often as I needed to :S I never used heat or chemical dyes or anything, but my hair being fine-textured and pretty delicate, this resulted in my hair losing quite a bit of density and sustaining more breakage and shedding that was necessary :/ It kept growing, though - even though it's so fine-textured my hair is apparently stronger than it looks xD - But I wasn't happy with the overall state of it, of course.

By 2010 I was a bit past tailbone and going towards classic length (the longer parts of my hemline were already practically at classic) - But my hemline was uneven and thinned out.

In December 2010 I joined the Long Hair Community (LHC) and finally began to take more interest in haircare. I began to detangle my hair in a hair-friendly way and as often as it needed to be detangled :S xD, and slowly I regained the density I had lost. I planned to even out the hemline as soon as I hit classic length, which I did in August 2011. As you can see in the pics below, some parts of my hemline were longer than others; I was planning to let the shorter parts grow until they reached classic and then even it all out.


These pics are from late 2010, from when I had started to take interest in taking care of my hair again. The uneven fairytailed hemline is still there and I was slowly regaining the lost thickness (my hair has never looked as voluminous as I'd like, speaking about the ponytail circumference here):
 

Btw, I personally think fairytale ends (when one doesn't trim the hair to even out or shape the hemline) are really pretty on many people, and definitely not "worse" than blunt ends (that's a toxic issue in the long hair world, I think :S). But on me I definitely prefer a straight, blunt hemline because I favour a more voluminous look and that's the hemline that achieves it the most for my hair. Also, my 2010 fairytale ends had quite a lot of breakage, and were very uneven - it was a look that in my opinion didn't look good at all. But even when not especially uneven, fairytale ends and me don't really go along, and I prefer to cut back to a straight hemline when my ends start to fairytale appreciably. That of course doesn't mean I may think fairytale ends mean 'damage' or 'bad hair', because that's not the case, that's actually a myth. My fairytale ends back in 2010 *were* damaged, but many people maintain a fairytale end look that's 100% healthy. It's all a matter of personal preference, really.

This is from Summer 2010 (I do like that colour ^^ - It's natural highlights combined with the remaining henna sheen from my first henna'ing, which faded out):

And another pic from Winter 2010:

Bonus (not blurry!) close-up of the half-up style:

Next stop - 2011 and classic!

SwordWomanRiona / rionashairblog.blogspot.com.es
If you copy-and-paste this post and/or alter it without any permission, credit or link, you're stealing my content. In that case, please stop. Please ask before using my work, or at least share it properly, giving credit to me and my blog.

Friday, 19 January 2018

Hairstyles - 3-strand braided length-shortening buns

Today's post is another length-shortening bun (I also call them half-updos). These are great if you want to put up your hair but still show some length, or if you want to experiment with shorter lengths for a change :) I already posted about rope-braided length shortening buns, and cinnamon half-updos. This time, it's a three-strand braided half-updo :)

But first, I wanted to show the gorgeous blue acrylic stick my Gifter from the LHC (Long Hair Community) Winter Swap got me <3 It reminds me of the TARDIS a lot!


And now for the style:
This one shows how my auburn hair likes to change colour quite drastically with the lighting xD:
 
This style reminds me a bit of Leia's Ceremony braided updo (I did a paranda recreation of that one too), although it's different because the hanging braid is not partially coiled in the bun, as far as I know.
  • For this style, I used:
-An elastic without metal for the initial ponytail.
-A paranda (info about making parandas and braiding them into hair here). The paranda is optional, but a nice addition if you want added volume, hold and/or colour.
-A stick (also flexi-8, fork, clip, bun pins, or any hairtoy that works for you).
-Optional open bun pins for added hold.
  • Steps:
    1. Pull your hair into a high ponytail (as high or low as you want) and secure it with a hair-friendly elastic without metal. I find this style works best on medium to high ponytails, but of course, that depends on your personal likings.
    2. Divide your hair into three parts. We're going to braid it adding a paranda.
    Three-strand braids with paranda tutorial here: 
                           
    3. Now you have a braided high ponytail, to form the length-shortening bun you start coiling the length around the ponytail base, leaving some of the length hanging down. With my length, I usually coil the braided length twice. The number of times you wrap the length around the base will depend on your initial length, and on how long you want the shortened braid to be.

    4. Secure the part that's up in a bun with a stick, clip, bun pins, flexi-8 or fork. I usually add a couple spin pins or some open bun pins in order to add a bit more hold to the finished style so that it stays put for the whole day.

    -Variations: If you don't like using elastics and/or wearing ponytails, you could also do this without the initial elastic, braiding your hair directly with the paranda (either low or higher in the head). I often use gentle elastics because my slippery hair stays up better with the initial ponytail base, and I also find it easier to keep updos more polished that way. But I also do the elastic-less variation and it works great as well :):

    You can form a full updo by coiling the remaining length around the half-updo. Here's an example pic of this style all bunned up at the end of the day:

    Gallery with more pics of this style:

    SwordWomanRiona / rionashairblog.blogspot.com.es
    If you copy-and-paste this post and/or alter it without any permission, credit or link, you're stealing my content. In that case, please stop. Please ask before using my work, or at least share it properly, giving credit to me and my blog.

Tuesday, 16 January 2018

2017-18 hair: December-January random updos

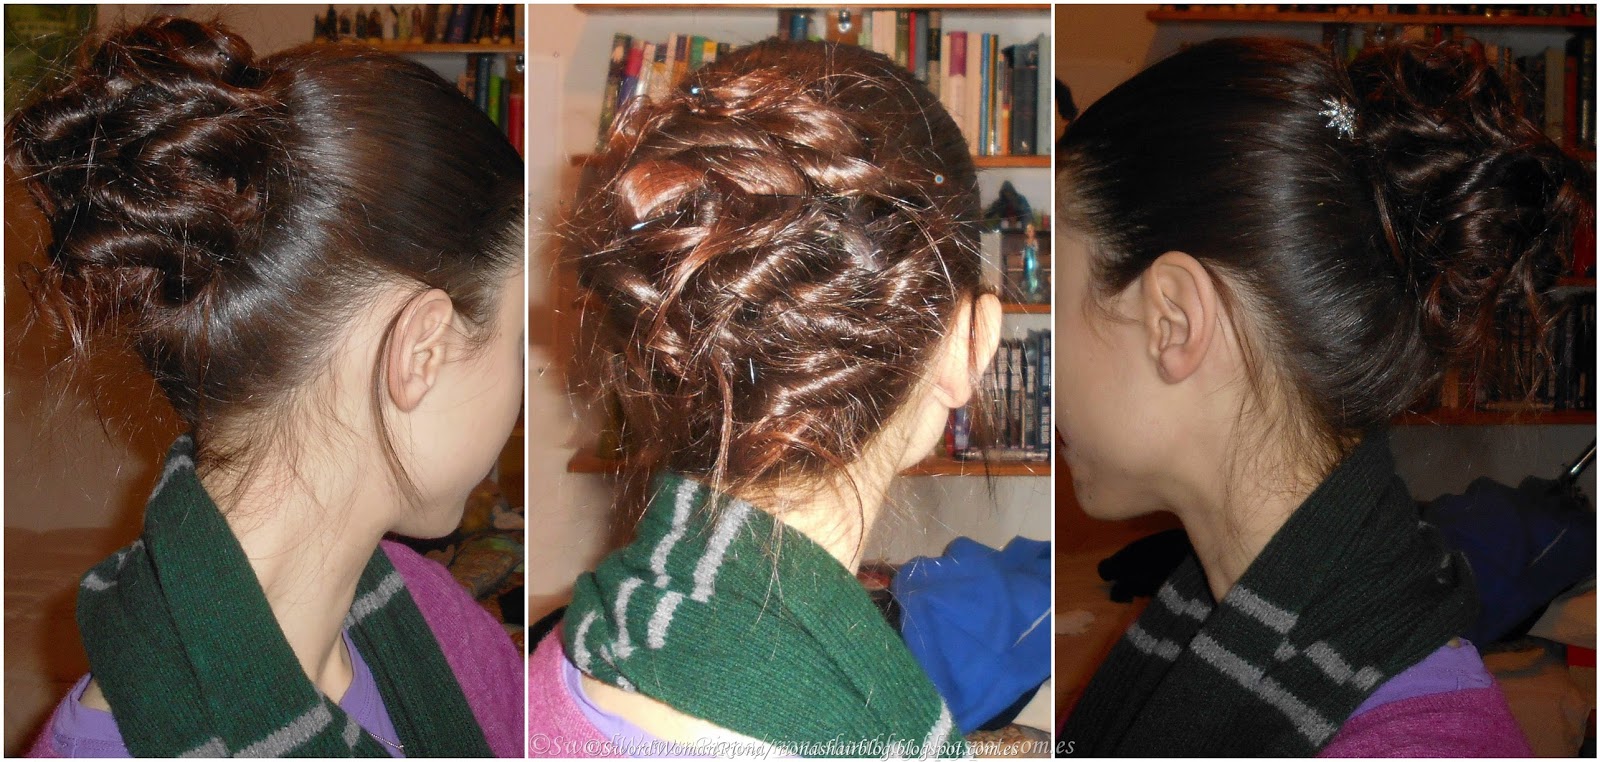
  • Pin-curl updo with a donut as base. Pic taken at night back at home after a concert, so a bit messy. 
  •  Flipped-up bun with fork:
 
SwordWomanRiona / rionashairblog.blogspot.com.es
If you copy-and-paste this post and/or alter it without any permission, credit or link, you're stealing my content. In that case, please stop. Please ask before using my work, or at least share it properly, giving credit to me and my blog.