Continuing from my former post about beribbboned updos, here are some pics of beribboned braids I have tried, also from different stages in my practising timeline :) (click or open in new tab for larger image). I'm planning some short videos showing how I braid ribbons into my hair (there are useful tutorials on YouTube as well), and I found useful help in this Long Hair Community thread (started by me) as well.
Three-strand braid: The simplest kind of braid to add ribbons to, and the first one I tried (usually with green ribbons at that time)
Three-strand braid as a half-up:
French braid: You add the ribbon in the same way you'd do for a three-strand, then you start adding hair from both sides to create the French braid.
Accent side braids: Lots of variations are possible (two side braids, more than two braids, combining different ribbons, tying the accents braids together to form a half-up or letting them hang loose, etc):
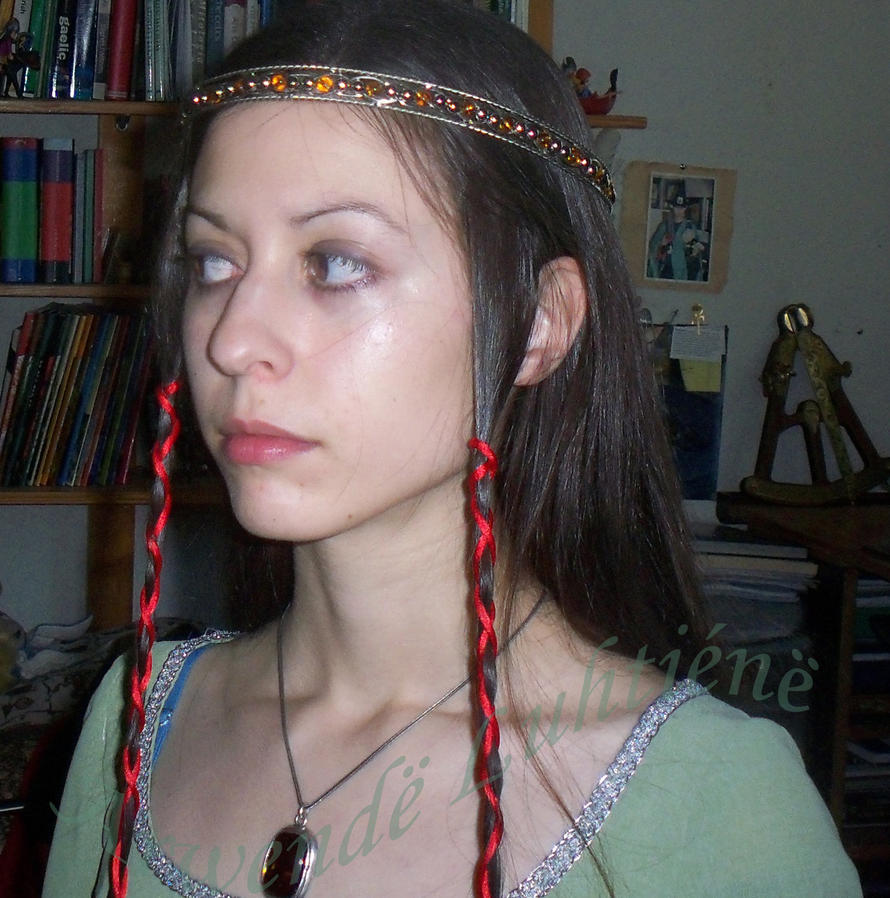
Accent side braids with rope-like red ribbons, this style reminds me of Celtic or Elven styles.
Same style, but instead of braiding, I crisscrossed the ribbon around the strand (Irish Queen cosplay/Elven cosplay):
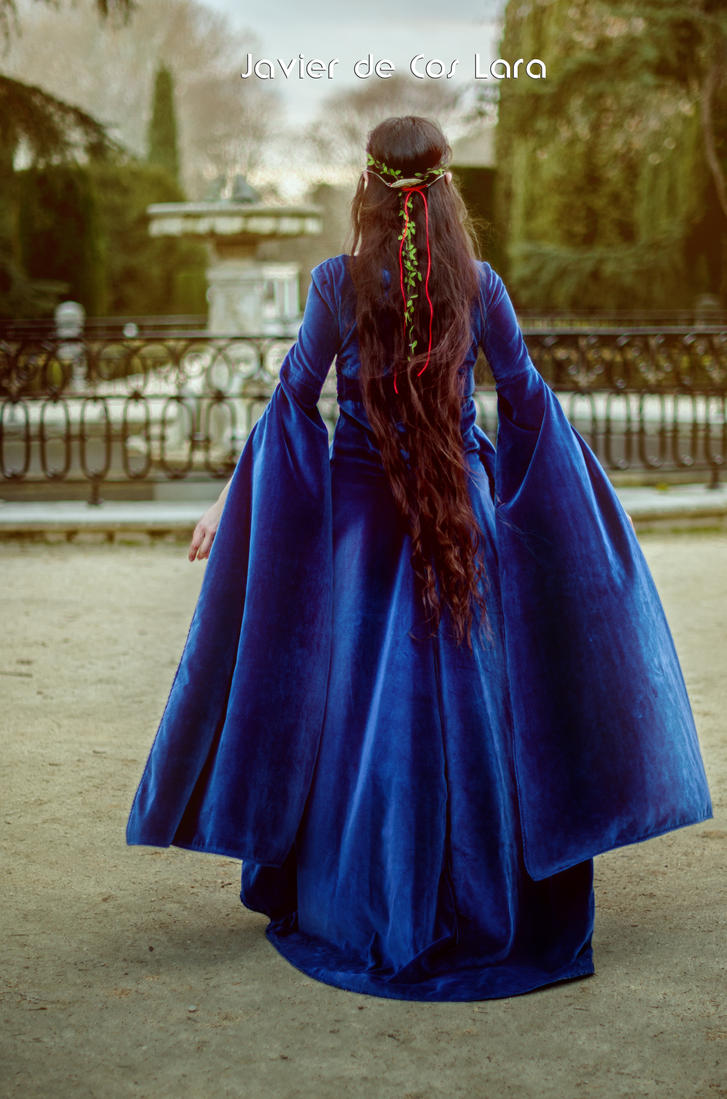
-Two accent side-braids with leaf ribbon (and, sporadically, a dark blue ribbon), tied together at the back, for several Elven cosplays (Lúthien Tinúviel, Noldorin Elven lady, Elven ranger):
Multi-braid: Ribbon can be added to accent braids at the sides, which are then braided together with the rest of the hair (see below). Other options include having side braids and adding ribbon to the general braid, instead, or combining different colours, or any variation you come up with, really :)
SwordWomanRiona / rionashairblog.blogspot.com.es
If you copy-and-paste this post and/or alter it without any permission, credit or link, you're stealing my content. In that case, please stop. Please ask before using my work, or at least share it properly, giving credit to me and my blog.
Lately, I've been favouring parandas, but I also love adding ribbons in my hair, especially for 3-strand or multi-braid styles, and updos.
Here are some of my beribboned updos, from different stages in my practising timeline :) (click or open in new tab for larger image)
I'm planning a short video showing how I braid ribbons into my hair (there are useful tutorials on YouTube as well), and I found useul help in this Long Hair Community thread (started by me) as well.
Braided bun: I added a long turquoise ribbon to a three-strand braid and bunned it, letting the extra ribbon fall out of the bun as decoration. It reminded me of something a Jane Austen character would wear :)
Braided top knot bun with a green ribbon for a Saint Patrick's Day look:
Braided Chinese buns (post about the Chinese bun, both simple and braided, will be coming soon)
Tutorial of this last style:
SwordWomanRiona / rionashairblog.blogspot.com.es
If you copy-and-paste this post and/or alter it without any
permission, credit or link, you're stealing my content. In that case,
please stop. Please ask before using my work, or at least share it
properly, giving credit to me and my blog.
Edging ever closer to knee, but still a couple of inches to go! It's definitely grown since Spetember, trims and microtrims included, but it's taking forever at this stage!
First pic is from mid-January (midday, sunlight outside) and the second one is from yesterday, with braidwaves (at night; braidwaves make the hemline look a bit thinner than it really is). And yes, I'm such a lazy length-shot photographer, house clothes and nightgown ftw xDD!
I've done a seasonal trim, plus a couple of small microtrims in the past three months, but I want to grow to knee, then maintain in order to thicken up the hemline, which has thinned out a bit since the Summer (probably because of the Autumn shed... ). I'm trying out a new orange-based shampoo (D'Shila brand), meant to strengthen and give a bit more volume to fine-textured hair, and I think it's become one of my favourite shampoos. It feels and smells really great, doesn't have harmful chemicals and it actually seems to be working - my hair definitely feels better since last week, the hemline as well. I'm still not 100% happy with the hemline, but it's definitely improved after the Autumn shed, and I plan to go on a hardcore maintaining mode as soon as I get to knee (maintaining just after I hit classic on 2011 did wonders to my hemline, I hope this will be the case as well).
#Auburn hair problems: Colour-wise, my new camera doesn't seem to be able to handle my dark auburn hair xD. Sometimes it shows up dark brown with ashy or even blue undertones (like September's length shot), sometimes it shows up really auburn and coppery, especially when it's sunny outside. Usually during the same day and with the same, or similar, lighting. Definitely not complaining about the red-oriented pics! (always craving for red hair, me xD)
Got two new hairsticks during the Yule period, so I thought I'd post them here :)
I've wanted to give acrylic sticks a try for a while now, so, enabled by an LHC hair swap, I got my first one. It's a gorgeous purple and blue Eaduard stick (https://www.etsy.com/shop/EaduardHairsticks?ref=shop_sugg), and it works really well for me:
Acrylic Eaduard stick in a cinnamon bun. I don't know where the blue lighting comes from, but it sorts of fits the stick's coloration xD
The second one I got as a gift, and it's a total beauty and makes you look awesomely badass when wearing it. It's from AKCWoodworking on Etsy (https://www.etsy.com/shop/AKCWoodworking), a Gimli axe wooden hairstick. As a tolkienite and a swordswoman, I'm mightily pleased :D!
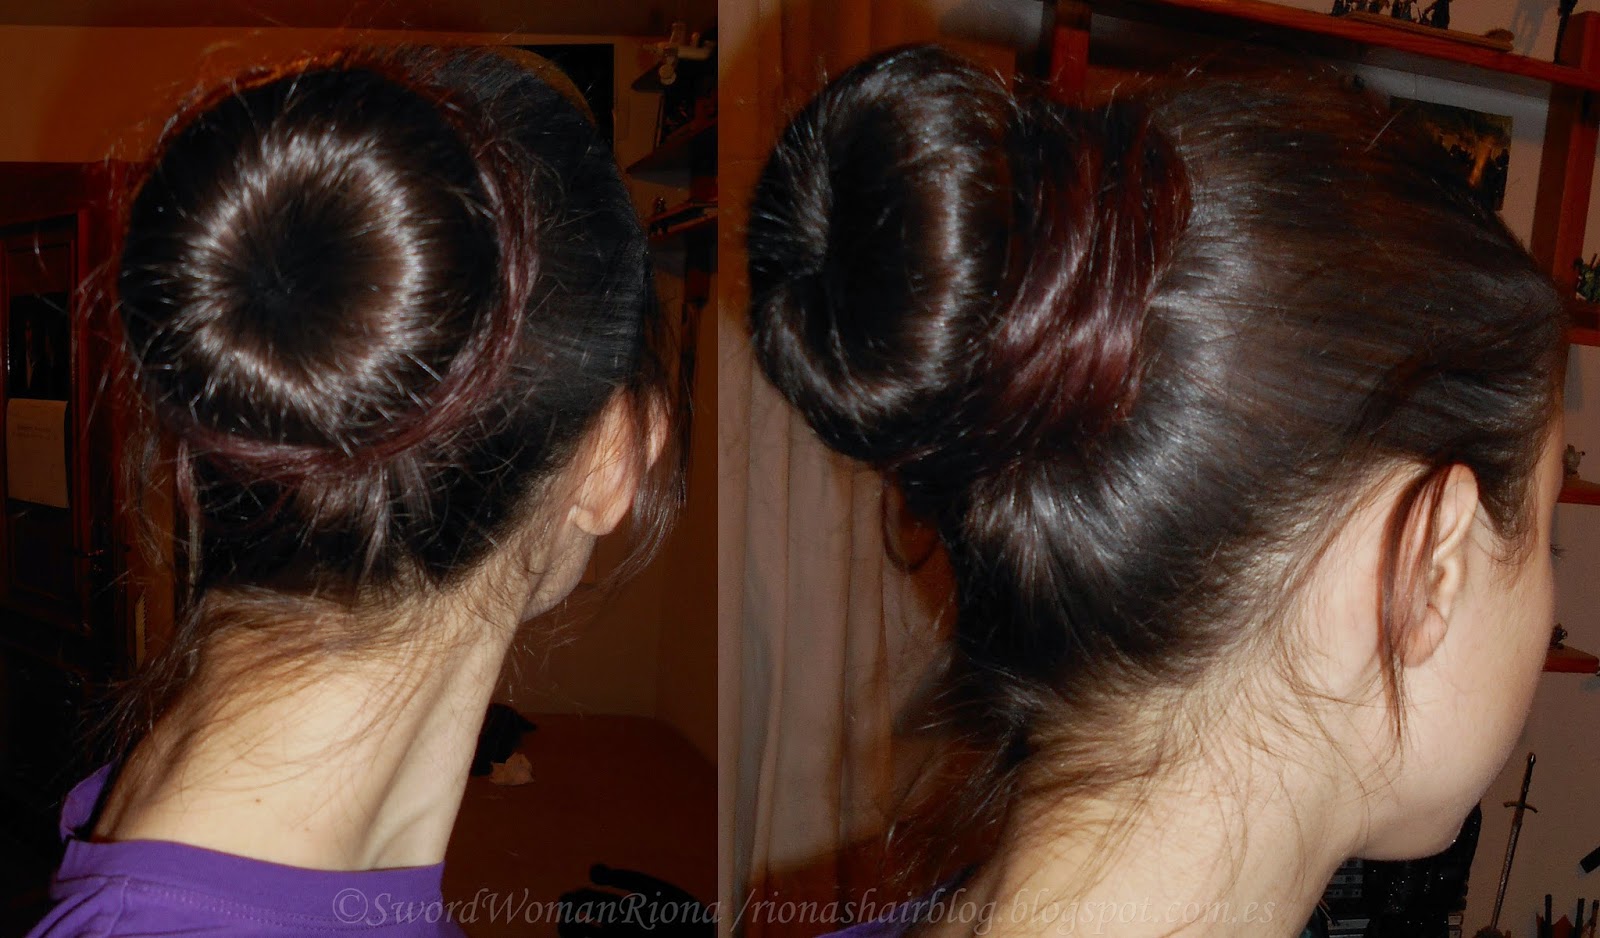
Lately, I've been wearing lots of donut buns. I find them reasonably easy and fast to do in the morning, stay all day, and give a lot of volume and a sleek look to the hair (I usually go for the 'sleek' polished donut bun, casual 'messy' variations are also another way to go :) ).
The main hair item needed for this updo is a foam donut. I own a smallish donut (the one shown in the pic below) a medium one, and a really big one (which I got for a cosplay - Missy from Doctor Who's series 10). The three of them are either dark brown or black.
You can also use a rolled-up sock with the toe-end cut off. I gave it a try, but generally prefer the foam donuts.
Other items needed for this style:
-A couple of hair elastics (without metal and preferably close to one's hair-colour)
-Brush/comb to pull your hair up in a high ponytail and/or to smooth your hair.
-Bobby pins (preferably open, closed can also work).
-Additional for the braided variation shown below: A paranda/ribbon to braid into your hair, other decorative accesories (such as decorative pins, a small barrette, a comb, a fork, etc).
Methods: There are a couple of ways to do the donut/sock bun -
1. Donut bun with the hair being wrapped into the donut/sock from the ends to the top (risk of mechanical damage with this method)
They're usually pretty high ponytails when it comes to sock buns, but lower or side ponytails also work, of course. I use a comb to help pulling my hair up, and a baby brush to smooth the hair into a more poliished look (this step can be omitted for a more casual/messy look).
-Insert the rolled-up sock or foam donut into your ends, hold the ends at the centre of the sock/donut and start rolling the sock upwards towards the elastic, taking care so that the hair is as evenly distributed as possible over and around the sock/bun as your're rolling it up. We're looking for a volumized bun with the hair evenly distributed around the filling and hiding it from view.
This can be tricky, especially if you have reasonably long hair (I found it pretty tricky to keep the hair evenly distributed around the sock with mid-thigh hair).
-When you reach the base of your ponytail, secure the bun with bobby pins so that it doesn't fall over, making sure that the sock/bun can't be seen. Depending on your length, texture and technique, you may need a lot of bobby pins to secure the updo, or none at all. Some sock buns can stay secure on their own.
-The updo can be left like this, or it can be decorated with a scrunchie around the bun, flowers, decorative pins or any kind of hair adornment.
When I found out about the sock/donut bun, this was the first method I learned. I think it tends to give a messier/more casual look to the updo than the second method, and it can also create heatless curls (usually called sock curls - I've also seen rag curls being called 'sock curls', even though they don't involve wrapping the hair into a rolled-up sock). This method also tends to give very voluminous, 'head-eating' updos, as you can see from my first try (it came out a bit asymmetrical and it didn't stay up very well, but wow, it covered the whole back of my hair!):
So pros of this updo:
-For those who like the effect, it can give a messier/more casual look to the updo than the second method (polished results are, of course, also doable).
-Big hair: This method usually gives a bigger, very voluminous bun. It literally covered the entire back of my head.
-Heatless curls when taking your hair down, especially if you sleep in it.
However, pros aside, I don't like this method very much. I only tried it once, and I found it pretty time-consuming, not very secure (at least with my length and fine-textured sippery hair) and also pretty damaging, especially if you have fine-textured hair. The method involves wrapping your hair from the ends to the top into a rolled sock or foam donut, and this action is not only rather time-consuming when you have very long hair and have to keep on rolling it up and distributing it evenly around the sock/donut - it can also create a lot of mechanical damage and tangling. The friction of the hair against the rolled-up sock or donut can create breakage, frizziness, tangles and damage in general (not dissimilar to backcombing). In my personal experience, I didn't even have nice heatless curls when I took it down, because my hair was so frizzy and tangly. It also needed a lot of bobby pins to stay up, and even then, it wasn't a secure updo. Definitely not my method.
Cons of this method, in my opinion:
-High risk of mechanical damage, frizziness and tangles.
-More time-consuming than the second method.
-More difficult to get a polished or evenly distributed result.
-Less secure (at least for my hair)
2. Donut bun with the hair covering and wrapped around the foam donut/sock:
This is my preferred method. It can give both sleek/polished and casual/messy looks to the final updo, it's easier and faster than the first method (in my opinion), stays more securely for me, and I don't have to worry about mechanical damage.
The method:
Video tutorial (I'm using the smaller donut here, lately I've been mostly wearing the medium-sized one):
-Pull your hair up into a ponytail.
They're usually pretty high ponytails when it comes to sock buns, but lower or side ponytails also work, of course. I use a comb to help pulling my hair up, and a baby brush to smooth the hair into a more poliished look (this step can be omitted for a more casual/messy look).
-Insert the rolled-up sock or foam donut through your length so that it sits on top of the hair elastic at the base of the ponytail.
-Take the ponytail and spread it over the donut/sock, hiding it from view, and making sure the hair is evenly distributed. I usually make this step more secure by taking a hair elastic and sliding it over the hair-covered donut (this is optional).
-Gather the remaining length and tuck it under/around the hair-covered donut, securing it with bobby pins if you need.
Depending on how long your hair is, your ends will simply be tucked under the donut (and the elastic that I added on the former step would be seen), or you will have to wrap your length around it, hiding the optional elastic from view and adding to the volume.
Pros of this updo (in my opinion and experience):
-Quick and reasonably easy.
-Secure.
-Both a polished or more casual look.
-Voluminous updo.
-No mechanical damage.
Cons of this updo (in my opinion and experience):
-Can be less voluminous than the first method (for those who prefer head-eating buns)
-I find it more difficult to get this bun messy/casual. I do like polished buns a lot, though.
With the medium-sized donut, which is the one I've been wearing the most lately:
A higher donut bun/top knot (more about donut top knotshere):
Another options:
-Decorating the bun with pins/flowers/barrettes/other hair decorative stuff like in the former method.
-Letting the remaining length fall loose for a length-shortening updo/half-updo look.
-Braiding the remaining length and pinning it around the hair-covered donut for a braided sock bun look. Add a paranda to the braid for a very voluminous look:
-Three strand braid:
-Rope braid:
-Instead of a paranda, you can also braid a ribbon into your length:
SwordWomanRiona / rionashairblog.blogspot.com.es
If you copy-and-paste this post and/or alter it without any permission, credit or link, you're stealing my content. In that case, please stop. Please ask before using my work, or at least share it properly, giving credit to me and my blog.
I received my Winter Swap gift from The Long Hair Community yesterday, from fellow member Vanilla!
I got three dark chocolate bars (yum!), three lip blams with lovely fruity smells, three boxes of Jamila henna (I was actually planning on henna'ing during this month, so yay!), and last but not least,, a gorgeous large flexi-8, the December edition 'Crimson Joy' from lillarose.biz.
And some action shots, featuring a half-updo with a paranda (rope-braided high ponytail with the length twisted around the elastic twice):





.jpg)